Leather Car Seat Cleaning: The Complete Guide to Cleaning, Restoring, and Protecting Your Seats
In this guide
- Why Leather Needs Its Own Cleaning Method
- What You Need Before You Start
- The Products Professionals and Dealerships Actually Use
- Homemade and Natural Leather Cleaners: What Works and What to Avoid
- About Those "Hacks": WD-40, All-Purpose Sprays, and Over-Wetting
- How to Get Stains Out of Leather Car Seats
- Cleaning Perforated and Ventilated Leather Seats
- Cleaning White and Light-Colored Leather
- How Often Should You Clean and Condition Leather Seats?
- Leather Care in Kuwait's Heat, Sun, and Dust
- A Simple Habit That Prevents Most Problems
- The Bottom Line
- Sources
Leather car seat cleaning looks intimidating at first, but it's surprisingly manageable once you understand what leather actually needs — and what quietly destroys it. Done properly, cleaning the leather in a car's interior takes only about 30 minutes to an hour, according to AutoZone. The catch: the wrong product, too much water, or a stiff brush can undo years of that "new car" feel in a single afternoon.
This guide walks through the entire process step by step, covers the questions most articles gloss over, and adapts everything to the realities of driving in a hot, dusty climate like Kuwait.
We've pulled the practical steps from professional detailing and dealership guides, cross-checked the product advice against independent lab-style testing, and filled in the gaps that leave most car owners guessing. Whether your seats are lightly dusty, badly stained, perforated, or a pale cream color that shows every mark, you'll find a method here that fits.
Why Leather Needs Its Own Cleaning Method
Leather feels tough, but it behaves more like skin than fabric. It has natural oils that keep it flexible, a dye layer that gives it color, and usually a thin protective topcoat. Any one of those layers can be stripped, faded, or cracked by the wrong approach.
The most important thing to understand: leather and cloth seats are cleaned in almost opposite ways. Cloth soaks up cleaner and needs to be worked wet, then given hours to dry. Leather, by contrast, should never be soaked. As Crash Champions explains, leather seats tend to be more durable and dry faster than cloth, even when cleaned with a steamer. That durability depends on keeping moisture on the surface rather than driving it into the material.
There's also the matter of finish. A quality leather cleaner is better at lifting grit and grime than a generic all-purpose spray, and it's formulated to help prevent the cracking, discoloration, and wear that come from using the wrong thing, as Car and Driver notes from its testing. In other words: the specialist product costs more, but protects the leather. That's real, not just marketing.
Finally, leather that's cleaned but never conditioned slowly dries out. Springfield Chrysler Automart recommends following any cleaning with a conditioner specifically because it preserves the leather's quality and prevents cracking. Cleaning removes dirt; conditioning replaces the oils that cleaning and daily use take away. Skip the second half and you're only doing half the job.
What You Need Before You Start
You don't need a professional detailing setup. A short, sensible kit covers almost every situation. Drawing on the tool lists fromand Mercedes-Benz of Warwick, here's what earns a place in the kit:
Your cleaning kit
- A vacuum with a soft brush attachment. The soft brush matters. It lifts crumbs and grit without dragging hard plastic across the surface.
- Several microfiber cloths. These wipe and dry without scratching.adds a detail worth repeating: stick to white, undyed cloths, because a dyed cloth can transfer color onto leather when it's wet.
- A leather cleaner formulated for automotive leather. Not an all-purpose interior spray. A pH-balanced or pH-neutral leather cleaner is the standard recommendation acrossand.
- A soft-bristled brush.is explicit: this should be a soft interior brush, not a stiff carpet brush that can scar the surface.
- A leather conditioner to restore moisture and suppleness after cleaning.
- A spray bottle and some distilled water for diluting cleaner if the product calls for it, and for a residue-free wipe-down, per.
That's the whole list. The single biggest mistake in gathering supplies is reaching for a household cleaner because it's already under the sink. More on why that goes wrong shortly.
Step-by-Step: How to Clean Leather Car Seats
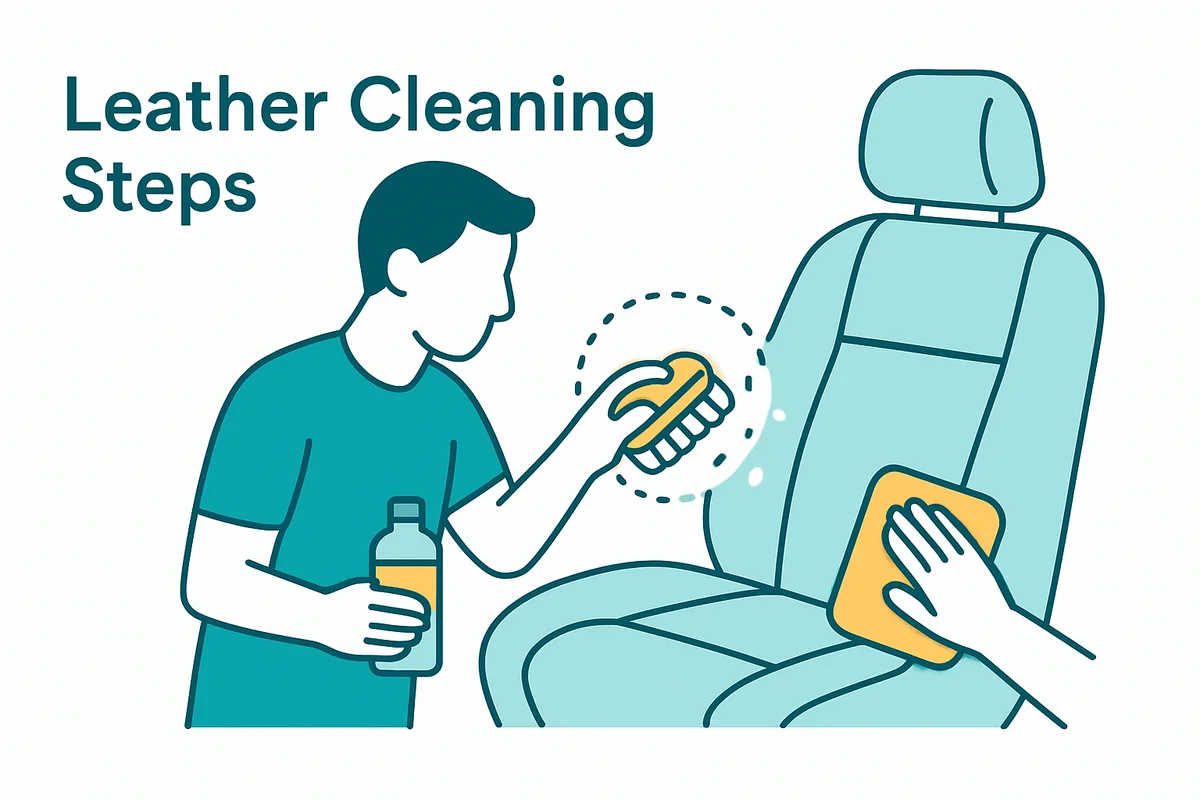
The methods published by dealerships, auto-parts retailers, and collision-repair chains are remarkably consistent. That consistency is reassuring — it means there's a genuine consensus process. Here's that process, combined into one reliable sequence.
-
1
Vacuum first, always
Start dry. Vacuum the seats to lift surface debris — dust, crumbs, grit — before any liquid touches the leather.stresses working into the cracks with small attachments and being careful not to scratch the upholstery in the process.makes the same point about getting into tight spots and crevices to remove dust, dirt, and crumbs first.
This step isn't optional busywork. If you spray cleaner onto a seat with grit still sitting on it and then start brushing, you're effectively rubbing sandpaper across the finish.also advises checking that the vacuum tip has no sharp edges that could scratch the material.
-
2
Test your cleaner on a hidden spot
Before you touch the main seating surfaces, test your chosen cleaner on a small, inconspicuous area to confirm it doesn't stain or discolor the finish. This appears in essentially every reputable guide —,— and it's the single cheapest insurance you can buy. If there's any color change or damage on the test patch, stop and choose a different product. This matters even more for light-colored and specialty leathers, which we cover in their own section below.
-
3
Apply the cleaner the right way
Spray the cleaner onto a microfiber cloth, or directly onto the seat only if the product's instructions say that's safe. The critical rule fromis to avoid soaking the leather, because too much moisture can damage it. You're dampening the surface, not saturating the seat.
There's one important exception for perforated seats. Rather than spraying the seat,recommends spraying the cleaner onto the brush first so liquid doesn't pour down into the holes.
-
4
Scrub gently, in small sections
Using the soft-bristled brush, work the cleaner into the leather in small sections.describes the right touch well: apply steady pressure without scrubbing too hard, and match the brush to the job. A mildly stiff-bristled brush works on dirtier leather, while softer bristles protect dyed leather from scratching.suggests a gentle circular motion to lift dirt and grime.
Working in sections is what separates a good result from a patchy one. It lets you wipe away loosened dirt before it dries back into the surface.
-
5
Wipe each section clean
As you finish each section, wipe it with a clean microfiber cloth. If crumbs are still lodged in the seams or along the edges,suggests a toothbrush or similar small tool to break them free without gouging the leather.
-
6
Remove residue, then dry
advises going over the seats with a lightly water-dampened microfiber to lift any remaining cleaner, because leftover cleaner residue can cause drying or cracking over time. Then dry the seats thoroughly with a fresh, dry microfiber. In short: clean it, rinse the residue, dry it. Don't let cleaner sit on leather to "soak in."
-
7
Condition to finish
Once the leather is clean and dry, condition it.recommends letting the leather dry for about 15 to 20 minutes first, then working a thin layer of conditioner in with a clean microfiber or applicator pad, section by section, wiping away any excess. Most conditioners are thin, so a little goes a long way.adds the finishing touch: let the conditioner dry, then buff it in with another clean microfiber cloth.
That's the entire routine. Vacuum, test, apply lightly, scrub gently, wipe, remove residue, dry, condition. Nothing exotic, just done in the right order with the right touch.
The Products Professionals and Dealerships Actually Use
One of the most common questions people search — and one that competitor articles tend to dodge — is what do dealerships and detailers actually use? The honest answer, pieced together from these guides, is less mysterious than it sounds.
Dealership service teams and detailers lean on products specifically formulated for automotive leather, not household cleaners and not generic interior sprays.states plainly that you should only use cleaning products designed for car interior leather, and that your owner's manual may even name a recommended product. The same guide recommends following the clean with an OEM-approved leather conditioner. That's the core of the professional approach: a dedicated leather cleaner, a matching conditioner, soft brushes, and clean undyed microfiber, applied patiently.
On the product side, independent testing gives you a shortlist rather than a guess. Whentested popular leather cleaners, it named the Weiman Leather 3-in-1 its best overall, the Leather CPR Cleaner and Conditioner its best value, and the Armor All Interior Leather Care Wipes its most convenient pick. The testers noted that the top performer combined strong cleaning power with a supple, slightly shiny finish afterward. The only real drawback: a strong smell.
They also flag a subtle but useful point: some products already include conditioning properties, so check the label rather than assume a "cleaner" also conditions.
If you've ever wondered whether the detailer down the road is using some secret formula, the reality is more ordinary. Good technique, a proper leather-specific product, and the discipline to condition afterward. All of that is fully within reach at home.
Homemade and Natural Leather Cleaners: What Works and What to Avoid
"DIY car leather cleaner" and "homemade leather cleaner for cars" are heavily searched, so it's worth being precise about which kitchen remedies are genuinely safe and which are risky.
The big warning first: dish soap and household cleaners are the wrong tool.notes that dish detergent, though it cleans deeply, is often too harsh for leather and can dry it out quickly.is blunter still, warning against household cleaners, ammonia, and bleach because they can cause irreversible damage.adds detergents, furniture polish, and household cleaner to its explicit "do not use" list.
That said, some gentle homemade options are recognized as reasonable.lists several natural alternatives for owners who prefer them:
- Castile soap: one tablespoon blended with one cup of warm water makes a gentle cleaner.
- Baking soda: a paste of baking soda and water can be scrubbed over grime. But follow up with conditioner, since baking soda can also dry leather out.
- Rubbing alcohol: a cotton ball dampened with rubbing alcohol can blot a stain.
- A light vinegar-and-water mix: sprayed on, it offers a natural, antibacterial cleaning option.
frames the homemade route as a stopgap rather than a routine: mild soap and water, or white vinegar diluted with water, can be used sparingly in time-sensitive situations.mentions a two-parts-vinegar-to-one-part-olive-oil mixture as a leather cleaner "in a pinch," while still recommending that drivers use nothing but the products recommended for their vehicle to protect the investment long term.
The sensible takeaway: a gentle DIY solution can rescue you when you have nothing else on hand. But if you clean your leather regularly, a proper leather product is easier on the material. And whatever you use, the "test on a hidden spot" rule applies double to homemade mixes.
About Those "Hacks": WD-40, All-Purpose Sprays, and Over-Wetting
Search suggestions surface some genuinely risky ideas — using WD-40 on leather being a recurring one. None of the professional and dealership guides reviewed here endorse WD-40, dish soap, or generic sprays for cleaning or conditioning leather seats. The pattern in their advice points the other way entirely. Nothing in these sources supports using it on your seats, and given the repeated warnings that harsh and solvent-type products can strip oils and cause drying or cracking, it's best treated as something to avoid rather than a shortcut.
All-purpose interior cleaners.points out that while a generic interior product can work, it's not the best option. A leather-specific product is more adept at removing grit and grime while also preventing cracking and discoloration.
Over-wetting. The single most repeated hazard across every source is too much water or too much cleaner.warns explicitly against soaking the leather. This is why "cleaning leather car seats with soap and water" needs a caveat: a damp cloth with a little mild solution is fine, but a sopping-wet seat is not. Keep the moisture on the surface, wipe as you go, and dry promptly.
How to Get Stains Out of Leather Car Seats
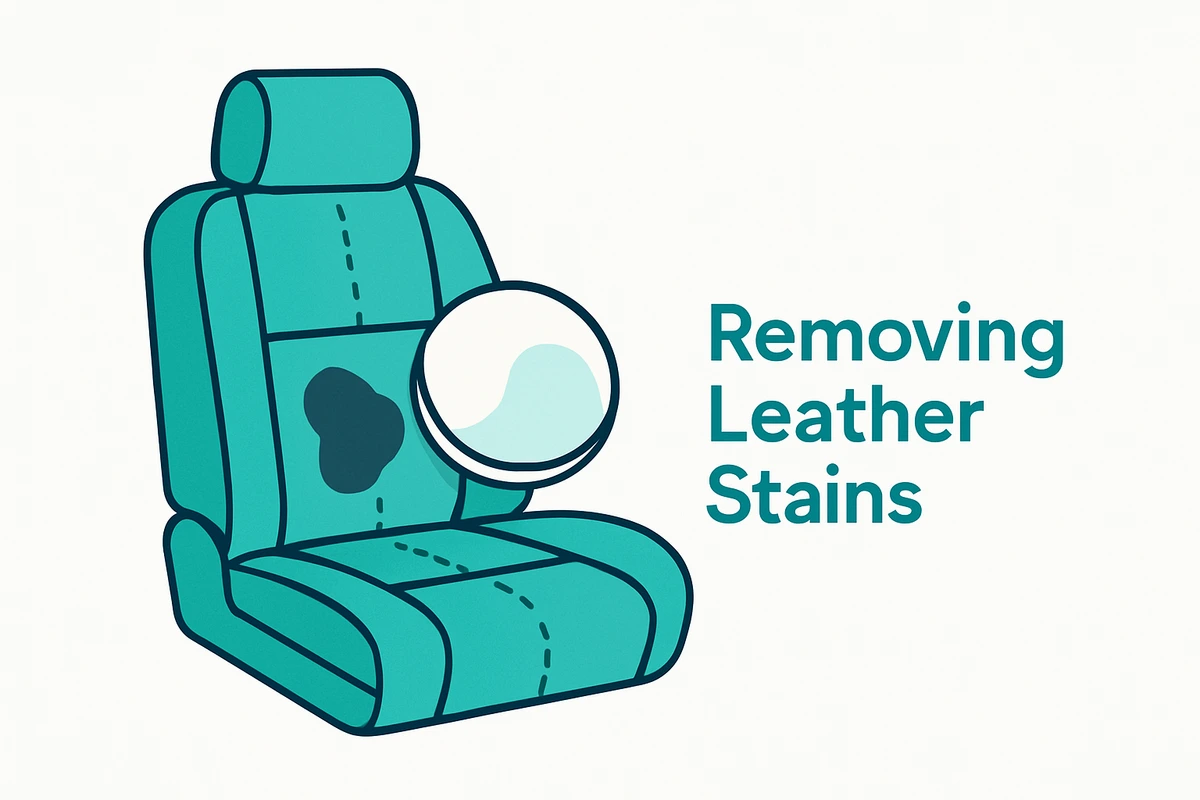
Stains are where technique matters most, because the instinct — to scrub harder — is usually wrong.
The first rule is speed.advises blotting spills quickly with a clean cloth to prevent stains from setting, and specifically to blot rather than rub, since rubbing spreads the stain. A fresh spill dealt with in seconds rarely becomes a stain at all.
For a stain that's already set,suggests blotting the affected area with a cotton ball soaked in rubbing alcohol as a targeted spot treatment. Work gently and check your progress rather than attacking the spot.
For general grubbiness rather than a single stain, the standard clean-and-condition routine above will lift most of it.notes that even water can occasionally leave a mark, and that the same cleaning steps apply if it does. If something is stuck on — dried food, for instance —advises against picking at it, which risks damaging the finish. Soften it with a moist cloth first, then wipe it away.
One more note for stubborn cases: resist the temptation to jump straight to a stronger chemical. The stronger the product, the higher the risk to the dye and topcoat. Escalate slowly, test first, and if a stain won't budge with gentle methods, it's a job better handed to a professional than forced at home.
Cleaning Perforated and Ventilated Leather Seats
Perforated leather — the kind with tiny holes, often over ventilated or cooled seats — is common in modern cars and needs special handling. Those holes are there for airflow, but asnotes, small crumbs and liquids easily flow into the crevices, and getting that debris back out can be challenging.
The golden rule is to keep liquid out of the holes.warns to be careful not to get cleaner into the perforations. The technique that makes this possible comes from: rather than spraying cleaner onto a perforated seat, spray it onto the brush and then work the surface. That way you never flood the holes.
For the holes themselves, dry methods are safest.recommends cleaning vent holes with a soft-bristled brush or a vacuum with a brush attachment to lift dirt and debris without damaging the leather. In practice: vacuum thoroughly, clean the surface with a barely-damp brush, and never let a puddle of cleaner sit over a perforated panel where it can seep in and get trapped.
Cleaning White and Light-Colored Leather
Pale leather — white, cream, light gray — is the most demanding to keep looking good, because every mark shows and every mistake is visible. Interestingly, none of the general guides give white leather its own method, so here's how to adapt the same principles with extra care.
The universal test-first rule becomes non-negotiable.andboth stress testing a cleaner on a hidden area to check for discoloration, and light leather shows discoloration most dramatically. Always run that patch test on pale seats.
Two source-backed habits matter even more on light leather:
- Undyed white cloths only.warns that a dyed cloth can stain leather when it's wet — a transfer that would be glaring on cream leather.
- Gentle, dyed-leather-friendly bristles.recommends softer bristles to maintain dyed leather without scratching, which is exactly the finish you want to protect on light-colored seats.
Beyond that, the biggest favor you can do pale leather is cleaning it more frequently and in thinner passes, so dirt never has a chance to grind in and gray the surface. Frequent light cleaning beats occasional heavy scrubbing every time.
How Often Should You Clean and Condition Leather Seats?
Frequency depends on use.points out the obvious-but-true drivers of dirt: how often you drive, how far you travel, and how many passengers ride along, noting that family cars — especially with kids or pets — get dirty faster than a vehicle used by one or two people.
For conditioning, the guidance is fairly consistent.recommends applying conditioner every three to six months to keep the leather soft and supple, with special attention to high-wear areas — the main seat surface, armrests, and headrests.suggests cleaning every three to six months and conditioning every six months to a year, plus using a UV protectant to shield the leather from sun damage and fading.
A reasonable rule of thumb that fits all of this: a quick wipe-down whenever the seats look dusty, a proper clean every few months, and conditioning on a similar or slightly longer cycle. In harsher climates you'll land at the more frequent end of those ranges. Which brings us to the desert.
Leather Care in Kuwait's Heat, Sun, and Dust

Everything above applies anywhere, but a Gulf climate stacks the odds against leather in specific ways. These are practical adjustments rather than new rules. The underlying advice is the same, just dialed up.
Sun and UV are the main enemy. Several of these guides tie leather damage directly to the sun. 3M India describes leather cleaner and conditioner as the remedy for faded and cracked seats, reversing the effects of harmful UV rays, wear, and built-up dirt, and notes that a good conditioner protects against fading due to UV exposure.recommends parking out of direct sunlight — in a garage or covered space where possible — to keep leather soft and prevent fading and cracking, and hunting for shady spots when parking out and about.adds a UV protectant to shield seats from sun damage, and warns against drying leather in direct sunlight or heat. In a climate with long, intense summers, take all of that seriously: park in shade, use a windshield sunshade, and condition on the frequent end of the schedule.
Dust is relentless, so vacuum more. Fine airborne dust is a constant here, and dust is exactly the grit that scratches leather when you brush over it. Since every guide starts with vacuuming to remove that surface debris, the practical adjustment is simply to do the dry, debris-removal step more often. A quick vacuum and wipe far more regularly than you would in a milder climate.
Heat means work in the cool.cautions against exposing leather to heat while it dries, so it's sensible to clean early in the morning, in the evening, or in a shaded or indoor space rather than under a midday sun that bakes cleaner and moisture into hot leather.
Hard water is a fair reason to use distilled water. Tap water in the region tends to be hard and mineral-rich. Sincealready recommends distilled water for diluting cleaner and rinsing residue, using distilled water rather than tap is a small, sensible habit that avoids leaving mineral marks behind.
None of this is exotic. It's the standard routine, done a little more often, always in the shade, with an extra eye on sun protection.
A Simple Habit That Prevents Most Problems
The best leather care is the cleaning you never have to do because a spill never became a stain.offers a genuinely useful habit: keep a travel-size bottle of leather cleaner and a few clean microfiber cloths in the car, so if something spills while you're driving you can deal with it before it sets. Pair that with the "blot, don't rub" rule fromand most stains simply never happen.
Ventilation matters too.notes that keeping the car well-ventilated helps prevent the moisture buildup that leads to mold and mildew. That's worth remembering any time seats have been cleaned or the car has been shut up in the heat.
Frequently asked questions
What is the best thing to clean leather car seats with?
A pH-balanced cleaner made specifically for leather, followed by a conditioner to keep the leather soft, per.
Can I use dish soap on leather seats?
Better not to.warns that dish detergent is often too harsh and can dry leather out.
How do I make leather car seats look new again?
Clean and condition them regularly with products made for leather, and protect them from sun and heat, per.frames cleaning-plus-conditioning as the way to reverse the faded, cracked look of neglected seats.
Is a cleaner-and-conditioner combo product okay?
Yes.points to combined cleaner-and-conditioner formulas as a convenient way to clean and condition in one step. Just remember's advice to check the label, since not every cleaner conditions.
What should I never use on leather car seats?
Household cleaners, ammonia, and bleach, whichsays can cause irreversible damage. Plus detergents, furniture polish, dark or dyed cloths, and sharp objects, per.
The Bottom Line
The bottom line
Good leather care isn't complicated, but it is specific. Vacuum before you wet anything, test your cleaner on a hidden spot, apply it lightly rather than soaking the seat, scrub gently in small sections with a soft brush, wipe away residue, dry thoroughly, and finish with conditioner. Use a product made for automotive leather, keep household cleaners and solvent "hacks" far away, and protect your seats from the sun. Do that on a regular rhythm — more often in a hot, dusty climate — and leather that could have cracked and faded will instead keep that supple, just-detailed feel for years.
If your seats are past the point where a home clean will do — deeply soiled, badly stained, or overdue for restoration — a professional interior detail can reset them safely without risking the finish. For that kind of thorough interior deep cleaning across Kuwait, the team at Wash & Polish can handle the leather, and the rest of the cabin, with the right products and technique so you don't have to.