In this guide
- Why Bother Washing at Home?
- The Supplies You Actually Need
- The Most Common—and Costly—Mistake: Dish Soap
- About "Homemade" Car Wash Solutions
- Before You Start: Timing and Location
- Don't Forget the Tyres—But Skip the Dressing
- Bringing the Interior into the Routine
- How Often Should You Wash?
- A Note on Water Use
- Hand Wash vs. Automatic Wash: Which Is Right?
- Quick Reference: The Ten-Step Home Wash
- Common Mistakes to Avoid
- Final Thoughts
Washing your own car in the driveway is one of those rare jobs that saves money, protects one of your most valuable possessions, and gives you a bit of quiet satisfaction all at once. Yet "just spray it with a hose and wipe it down" is exactly how most people put fine scratches into their paint without realizing it.
Do it right, and it's not complicated. But it does follow a logic: remove grit before you touch the paint. Keep dirty water away from clean panels. Work in the correct order. Dry before the water can dry on its own. Get that sequence right and a home wash can leave your car every bit as clean as a commercial wash. As one long-running car-care brand puts it, with the right supplies and some elbow grease you can get your vehicle just as clean as a drive-through Turtle Wax Pro.
This guide walks through the whole process. What to buy. What to avoid. The exact order to follow. How to handle the specific challenges of washing a car in a hot, dusty climate like Kuwait. It also answers the questions people most often search for: is dish soap safe? What can a homemade wash solution actually do? How do you stop water spots? How often should you really be washing?
Why Bother Washing at Home?
There are three honest reasons people choose to wash their own car rather than paying for it.
First is control. When you wash at home you decide which products touch the paint. You avoid the moving brushes and machinery of non-touchless automatic washes that can drag grit across the finish.
Second is cost. The effort and equipment cost you something up front. But over time, doing it yourself can save money compared with repeated professional washes.
Third, and most people overlook this one: maintenance. Frequent washing is one of the best ways to keep a new-car finish looking new. The act of washing puts your hands and eyes over every panel. You notice rust, loosening trim, rock chips, or other small problems while they're still small Consumer Reports. A hand wash is a health check for your car as much as a clean.
The trade-off is time and preparation. A proper home wash asks you to gather the products, tools, water access, and a good chunk of time before you start. The good news: once you own the kit, every wash after the first is cheap and quick.
The Supplies You Actually Need
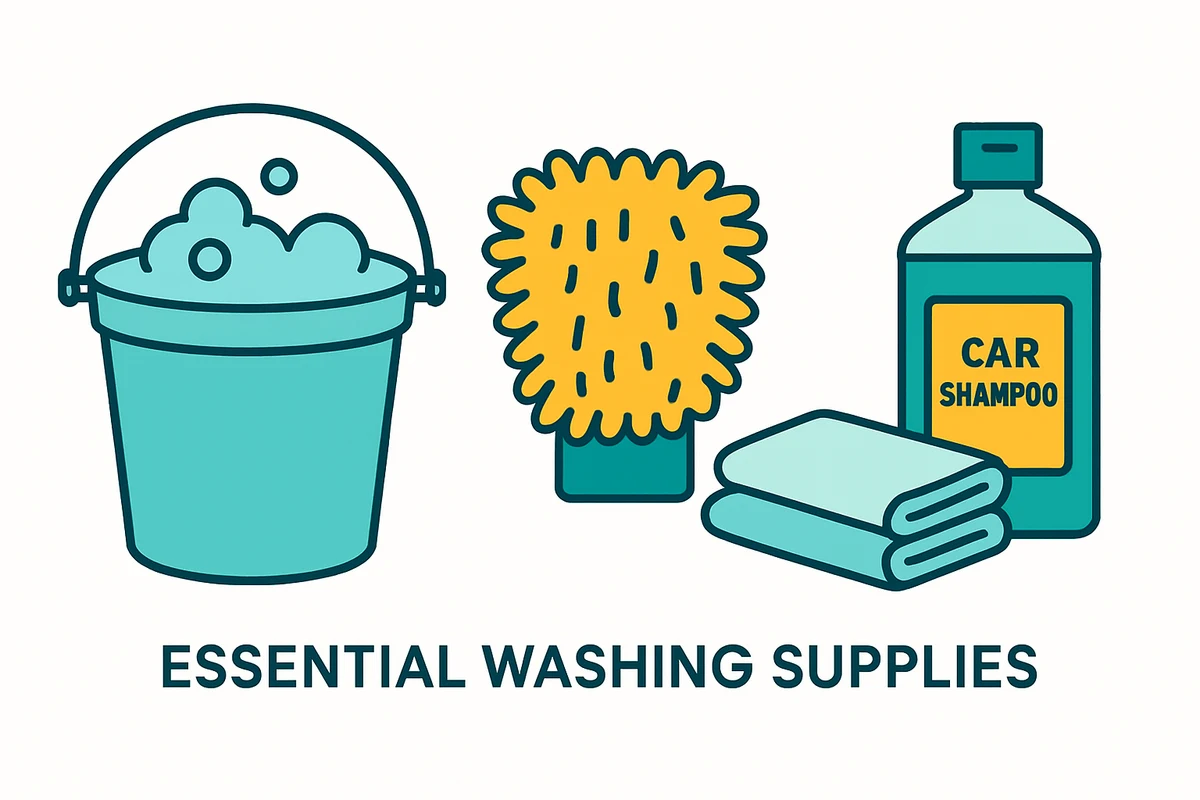
You don't need a professional detailing arsenal to wash a car well at home. You do need a small set of the right items, because using the wrong tool—a kitchen sponge, a bath towel, dish soap—is how most home washes cause damage.
Here's the core kit that shows up again and again across serious car-care guides:
- A dedicated car-wash shampoo. This is the single most important choice, and we cover why below.
- At least two buckets: one for soapy water, one for rinsing your mitt. A third is useful for the wheels Driveway.
- A soft wash mitt or microfiber mitt for the paint. A large, soft natural sponge or a lambswool mitt works well. Avoid ordinary scrubbing sponges, which can scratch the paint or finish.
- A separate, rougher brush or sponge for the wheels and lower body, where the dirt is heaviest.
- A hose—you can wash without one, but rinsing is far easier with it. A pressure washer on a gentle setting speeds things up further RAC Drive.
- Microfiber drying towels or a chamois. Drying is a step in its own right, not an afterthought.
- An ammonia-free glass cleaner for the windows and windshield.
- A wheel cleaner, if your wheels need more than soap and water.
Optional extras that earn their place: a wax, sealant, or quick-detailer spray for protection at the end. A bug-and-tar remover for stubborn lower-body deposits. A headlight restoration kit if your lights have gone foggy. For interior work you'll also want a vacuum with a hose attachment.
One accessory worth adding that most beginners skip is a grit guard. It's a plastic insert that sits in the bottom of the bucket. It traps dirt and grit below the guard when you wring out your mitt, so you're not picking that grit straight back up and dragging it across your paint Instructables.
The Most Common—and Costly—Mistake: Dish Soap
Ask around and someone will tell you that dish soap is fine for washing a car. It isn't. This is worth understanding rather than just accepting, because it's one of the most searched questions about washing a car at home.
Modern car paint is protected by a layer of wax or sealant. Dish soap is designed to cut through grease. That same power strips off the protective wax and sealant along with the dirt Kelley Blue Book. The advice from car-care specialists is consistent: don't use household cleaning agents like hand soap, dishwashing detergent, or glass cleaner on the paint. They aren't formulated for automotive finishes and may strip the protective wax. A dedicated car-wash product is milder and specifically designed to be used on paint.
Even brands note the same thing about home washing: regular dish soap can leave the finish looking dry rather than shiny. A car-wash soap is simply better designed for the job. Another home-wash guide lists dish soap as a common choice but explicitly says it's not recommended. It points instead to soaps made for cars.
There is one narrow exception. If your deliberate goal is to strip old wax off the paint before applying a fresh coat, a strong dish-soap solution—around one ounce of dish soap per gallon of water—will cut through most contamination and remove existing protection. That's a paint-prep step, not a routine wash. If you do it you should re-wax afterward because the protection is now gone.
For a normal wash, use a soap made for cars. The small cost of dedicated shampoo is far less than the cost of prematurely stripping and dulling your paint.
About "Homemade" Car Wash Solutions
A lot of people search for a homemade car wash recipe or a soap "that doesn't remove wax." It's worth being straight about what a DIY solution can and can't do. Most of the household mixtures floating around fall into the same trap as dish soap.
Household items genuinely have a place in car cleaning, just not usually as your main paint shampoo. Everyday products like baking soda, isopropyl alcohol, and toothpaste can tackle specific stains, odors, and grime around the car. A few examples that actually work:
- Baking soda is an effective deodorizer and stain remover. Sprinkle it on carpet or cloth upholstery and leave it for at least 15 minutes. Longer works better. It absorbs odors before you vacuum it back up.
- Isopropyl alcohol, diluted with distilled or reverse-osmosis water, makes an affordable glass cleaner. Roughly a 4-to-1 water ratio for 91% alcohol, or 3-to-1 for 70%. It's also useful for lifting adhesive residue and tree sap.
- Toothpaste, thanks to its mild abrasives, can knock back light oxidation on foggy headlight lenses when rubbed on with a microfiber towel.
What none of these do is replace a proper, wax-safe body shampoo. There isn't a reliable pantry recipe that both cleans the paint like car shampoo and leaves your wax layer untouched. The household degreasers that clean well are exactly the ones that strip protection,.
So the honest answer to "what's the best homemade wash soap that doesn't remove wax?" is: for the paint itself, use a dedicated car shampoo. Save the homemade solutions for glass, trim, odors, and spot stains. And always spot-test any new product in a hidden area first, because different vehicle surfaces—especially on luxury or older cars—can react differently.
Before You Start: Timing and Location
Where and when you wash matters as much as how. The single rule every serious guide agrees on: don't wash your car in direct sunlight or when the body is hot.
Heat speeds up the drying of soap and water. This makes washing harder and increases the chance that spots and mineral deposits form on the paint before you can rinse and dry. That means not washing straight after driving, and not washing a car that's been sitting in the sun. A shaded, cool spot keeps the water and soap workable.
There are two more reasons to stay out of the sun. A water droplet on hot paint can act like a magnifying glass and amplify sunlight onto the surface. Many car-care products simply perform better in cooler temperatures. One experienced detailer names roughly 18–24°C (65–75°F) in the shade as ideal washing conditions.
Washing in Kuwait's Heat and Dust
This is where the standard advice needs translating to local reality. In a climate like Kuwait's, the "wash in the shade on a mild day" ideal is rarely available in the middle of the day for much of the year.
The practical move is to shift the whole job to the coolest part of the day—early morning or after sunset—or into a shaded garage or carport. The goal is the same: keep the surface cool enough that soap and water don't flash-dry on the paint before you can work and rinse.
Fine desert dust also raises the stakes on one particular step. A dusty car is a car coated in abrasive grit. The pre-rinse (below) isn't optional. Dragging a mitt over unrinsed dust is one of the surest ways to grind fine scratches into the finish. Local water tends to be mineral-rich, which makes fast, thorough drying more important than it would be elsewhere. Minerals left to dry on the paint are what create water spots. Treat these as practical adjustments to the same core method, not a different method.
Shift the whole job to early morning or after sunset. Keep the surface cool enough that soap and water don't flash-dry on the paint before you can work and rinse.
The Step-by-Step Home Wash
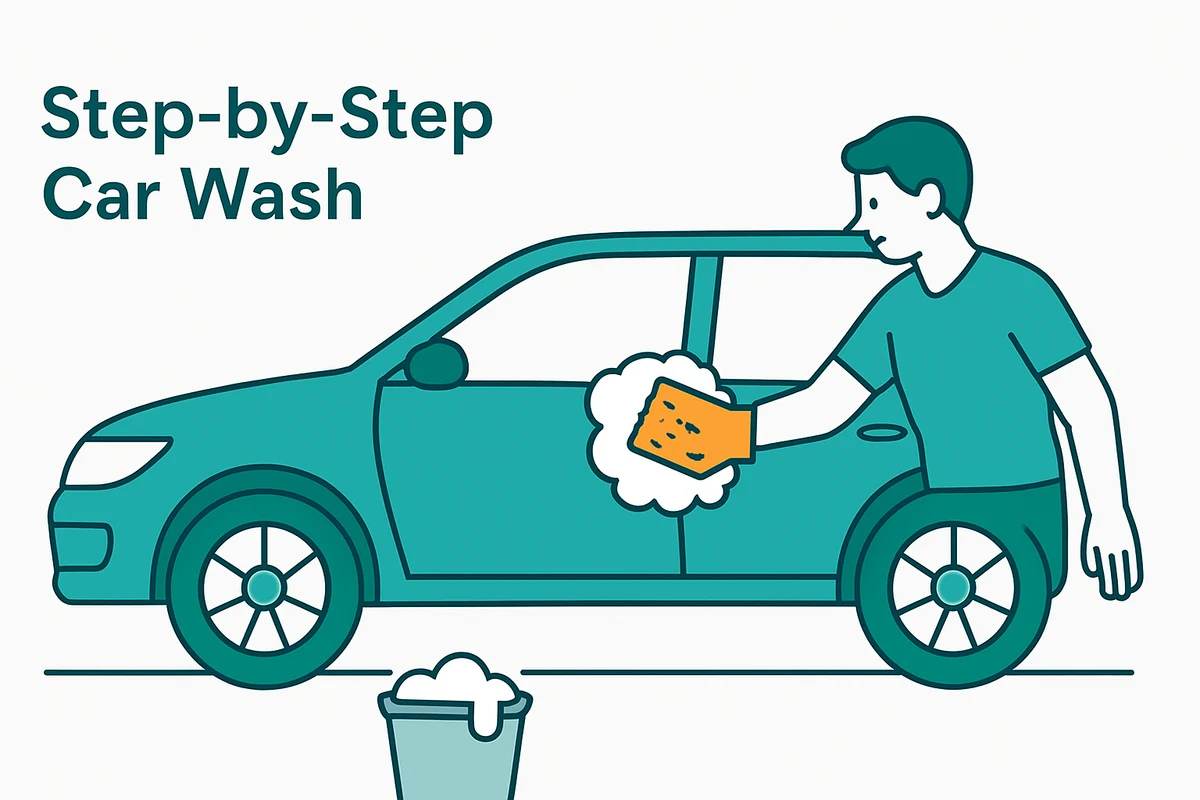
Follow this sequence in order. The order is what protects your paint.
-
1
Pre-Rinse the Whole Car
Before anything touches the paint, rinse the entire car with water to float off loose dirt and debris. This initial rinse reduces the friction when you start washing, which is what helps prevent swirl marks and scratches. Use a hose, or a pressure washer on a gentle setting. Pay attention to the crevices, badges, door handles, and panel gaps where dirt collects.
Rinse and wash from the top down. Always work from the highest point of a panel downward so that dirt and grimy water run off the car rather than across clean surfaces.
If your car carries baked-on bugs or road tar along the front and lower edges, this is the moment to treat them. These grease, rubber, and tar deposits gather around the wheel wells and lower body. They can be stubborn, often needing a dedicated bug-and-tar remover applied with a soft, non-abrasive cloth. Give a bug-and-tar product a few minutes to soak so it loosens the grime. Then gently work it off and rinse again.
-
2
Clean the Wheels First
Wheels are the dirtiest part of the car. Brake dust, sand, and road grime coat them. Do them first, before the body. Any brake dust or grit thrown onto the paint during wheel cleaning gets washed away in the later steps rather than left behind.
Use a separate sponge or brush and ideally a separate bucket for the wheels. You never want to transfer their abrasive debris onto the paint,. Mild soap and water may be enough. If not, use a dedicated wheel cleaner. Apply the wheel cleaner, let it soak for a few minutes, then agitate with a wheel brush. Get into the seams and spokes. Rinse,.
A word of caution on wheel cleaners: make sure the product is compatible with your wheel finish. A strong formula meant for bare mag wheels can damage the clearcoat used on most of today's wheels. Choosing a cleaner labeled safe for all wheels is the safer bet.
-
3
Wash the Body with the Two-Bucket Method
Now the main wash. The technique that separates a safe wash from a scratchy one is the two-bucket method: one bucket holds your car-shampoo solution, the other holds plain water for rinsing your mitt,. The whole point is that you don't keep dunking a dirty mitt back into your clean, soapy water and putting grime straight back onto the car.
Work the solution into a good lather. Plenty of suds give lubrication that helps the mitt glide over the paint. Then:
- Dip the mitt in the soapy bucket and wash one section at a time. Start at the top where the car is cleanest and work down to the lower panels that hold the most grime.
- Move the mitt in straight lines, lengthwise across panels. Never in circles. Circular motions create the light, noticeable scratches known as swirl marks,.
- After every few passes, rinse the mitt in the plain-water bucket before reloading it with soap. This keeps abrasive particles from being dragged across the paint,.
- Wash and rinse each section completely before moving on. Don't let the soap dry on the surface.
If your mitt or sponge drops on the ground, don't keep using it without rinsing it thoroughly. It will have picked up dirt particles that can scratch the paint.
-
4
Final Rinse
Once every panel is washed, rinse the whole car again from top to bottom. Make sure all the shampoo is gone. Leftover soap can leave streaks and attracts dust once it dries.
There's a neat trick for the final rinse. On a well-kept finish, rinsing with an open hose—no nozzle—lets the water flow over the car in a sheet from top to bottom. This "sheeting action" carries the soap away while reducing the water that pools on the body. It makes drying easier and leaves fewer spots.
-
5
Dry the Car Properly
Drying is not optional. Letting the car "air dry" is a mistake. Air drying—or a quick drive around the block—leaves watermarks caused by the minerals in hard water. Because the residual water dries onto the surface, drying it off by hand is what prevents water spots.
Use a chamois (natural or synthetic) or soft microfiber drying towels. Don't reach for an abrasive towel that can leave hairline scratches. Work methodically from top to bottom. It's best to blot the water up rather than dragging the towel across the paint,. A second dry towel gives a spotless finish.
You can speed things up with a soft squeegee to pull off most of the water first. Just make sure the rubber is pliable and hasn't picked up any grit that could scratch. One clever technique from Consumer Reports' chief mechanic: use a leaf blower on a low setting to blow water off quickly. A light, battery-powered one is best to avoid electrical issues around water.
In a hard-water region, prompt drying is doubly important. The minerals that create spots are exactly what local water tends to carry.
-
6
Glass, Headlights, and Wax
With the body clean and dry, finish the details.
Glass: Wipe any remaining water off the windows and windshield. Then clean them with an ammonia-free glass cleaner and buff with a clean microfiber towel. Take care not to leave streaks. Don't forget to wipe the wiper blades. Clean blades prevent the grit on them from scratching the glass.
Headlights: If your headlights look foggy or yellowed, a restoration kit will help. Mask around the lenses first so the solution doesn't touch surrounding paint. If the kit includes a protective finish, apply it after cleaning. For light oxidation, that toothpaste trick can also help as a low-cost option.
Protection: Finish with a wax, sealant, or quick-detailer spray. Beyond the shine, this protects the paint from UV, rain, and pollutants. It makes future washes easier because dirt has a harder time sticking to a well-protected surface,. A treat of seasonal waxing helps protect the car from the elements and restores a like-new shine. Spray waxes are the easiest for beginners: mist a section, rub it in with a damp microfiber towel, buff with a dry part of the towel, and move on to the next section. In a high-UV, high-heat environment, this protective layer is one of the more worthwhile finishing steps.
Don't Forget the Tyres—But Skip the Dressing
Wash the tyres along with the wheels. Here's a useful, money-saving point that runs against a lot of marketing: tyre dressing products aren't necessary to preserve your tyres. According to tyre makers, aftermarket dressings aren't needed to protect the rubber. The shine they add is purely cosmetic.
Tyres already contain antioxidants and waxes that protect them from the environment. The dull, slightly greyish film that appears over time is just those protective waxes migrating to the surface, which actually helps shield the rubber. Simple soap and water is all the tyres need.
Bringing the Interior into the Routine
A complete home wash usually includes a quick interior pass. Take the floor mats out, spray them down, and let them dry. But don't put them back while they're still wet. While the mats are out, vacuum the seats, floors, and every crevice with a hose-equipped vacuum.
For interior odors and stains, this is where household items shine. Sprinkle baking soda on carpet or cloth upholstery, leave it at least 15 minutes, then vacuum it out for a fresher interior. For a stubborn stain, presoak with vinegar and then agitate with baking soda and a nylon brush. This makes a stronger spot treatment, though the vinegar-and-baking-soda reaction is volatile and should be used right away. Whatever you try, spot-test it somewhere hidden first. Go gently on delicate surfaces.
How Often Should You Wash?
There's no single correct number. The guiding principle is that frequent washing is the best way to maintain a finish and catch problems early. As a real-world reference point, one detailer who drives through mud, salt, and road trips washes his vehicles roughly ten times a year. That's about every three to four weeks through the warmer months.
That every-few-weeks rhythm is a reasonable default. It's a floor, not a ceiling. The right frequency really depends on what your car is exposed to. A vehicle that sits under constant dust, sun, and airborne grit collects an abrasive layer faster than one kept in a garage. More frequent rinses and washes make sense in harsh conditions. The logic is the same as the pre-rinse: the longer abrasive grit sits on the paint and gets rubbed around by wind and handling, the more wear it causes.
A Note on Water Use
Washing at home does use water, and it's worth being mindful of it. Try to limit water use when rinsing. Remember that runoff from your driveway can flow into the storm drain or sewer system. Using a hose with a shut-off, working efficiently, and not letting water run between steps all help. In a region where water is a genuinely precious resource, that mindfulness matters more, not less.
Hand Wash vs. Automatic Wash: Which Is Right?
Both a hand wash and an automatic wash aim at the same result: a clean car. But they get there differently.
Automatic Wash
- Trades control for speed and ease
- The machinery does the work while you sit in the car
- Not every driver has the hose access or the time to wash at home
Hand Wash
- Full control over products and technique — you decide what touches the paint
- Avoids the moving brushes of non-touchless machines that drag grit across the finish
- Doubles as a regular inspection — spot rock chips or other damage while you work
- If you're after maximum care for the paint, a careful DIY wash is hard to beat
Quick Reference: The Ten-Step Home Wash
For when you just want the checklist:
- Park in a cool, shaded spot to prevent water spots.
- Gather your supplies: two buckets, car shampoo, a wash mitt, wheel cleaner, and microfiber towels.
- Clean the wheels first, with dedicated brushes and products.
- Pre-rinse the whole car to remove loose dirt.
- Fill one bucket with soapy water and one with clean rinse water.
- Wash from top to bottom in straight-line motions with the mitt.
- Rinse the mitt frequently in the clean-water bucket to avoid scratching.
- Rinse the whole car again to remove all soap.
- Dry with a microfiber drying towel to prevent water marks.
- Apply wax or a protective spray for added shine and protection.
Common Mistakes to Avoid
A short list of the errors that undo an otherwise good wash:
- Using dish soap or household detergent on the paint: strips the protective wax and dulls the finish,.
- Washing in the sun or on a hot body: causes soap to dry fast and leaves spots.
- Skipping the pre-rinse: dragging a mitt over dry grit scratches the paint.
- Wiping in circles: creates swirl marks; use straight lines.
- One bucket for everything: recycles grit back onto the car; use two.
- Using a scrubbing sponge or bath towel: too harsh; use a soft mitt and microfiber.
- Letting the car air dry: hard-water minerals leave spots; dry by hand.
Final Thoughts
The bottom line
A great home car wash isn't about buying the most products or spending the whole afternoon at it. It's about following a sensible order. Rinse off the grit. Clean the wheels first. Wash top-to-bottom in straight lines with two buckets. Rinse thoroughly. Dry before the water can. Use products actually made for cars. Do that, and you protect both your paint and your time. You get the quiet satisfaction of a job done well.
The one adjustment worth internalizing for a hot, dusty climate is timing and diligence. Wash in the cool of the day. Take the pre-rinse seriously. Never let the car dry on its own. Everything else is the same method the pros use.
If the driveway, the heat, or simply the time isn't on your side, professional help can come to you. Wash & Polish offers a mobile car wash across Kuwait, bringing a careful, hand-wash approach to your location. Your car gets the top-to-bottom treatment described here without you lifting a bucket. Whether you wash it yourself or leave it to us, the goal is the same: a clean, protected finish that lasts.