In this guide
- What Ceramic Coating Actually Is
- What a Ceramic Coating Protects Against (and What It Doesn't)
- How to Tell if Your Car Already Has a Ceramic Coating
- Should You Coat Your Car — DIY or Professional?
- How to Maintain a Ceramic Coating
- What Destroys a Ceramic Coating — and Can You Wax Over It?
- Do Spray-On and "Car Wash" Ceramic Products Actually Work?
- How Often Should You Reapply?
- Removing a Ceramic Coating
- Putting It All Together
Most car owners have heard of ceramic coating by now. Yet the information floating around is either marketing hype or half-answered forum threads. So here's what's actually true: a ceramic coating is a liquid polymer that chemically bonds to your car's paint and forms a durable protective layer over the clear coat, according to Car and Driver. That single sentence hides a lot.
How you apply it. How long it lasts. What it protects and what it doesn't. How you keep it working once it's on. This guide covers all of it in plain language, drawing on hands-on testing and professional detailing sources, with practical notes for owners in hot, dusty climates like Kuwait. The coating faces conditions most product instructions never mention.
Here's the one idea that matters: a coating is only as good as the paint underneath it and the care you give it afterward. Everything below is built around that truth.
What Ceramic Coating Actually Is
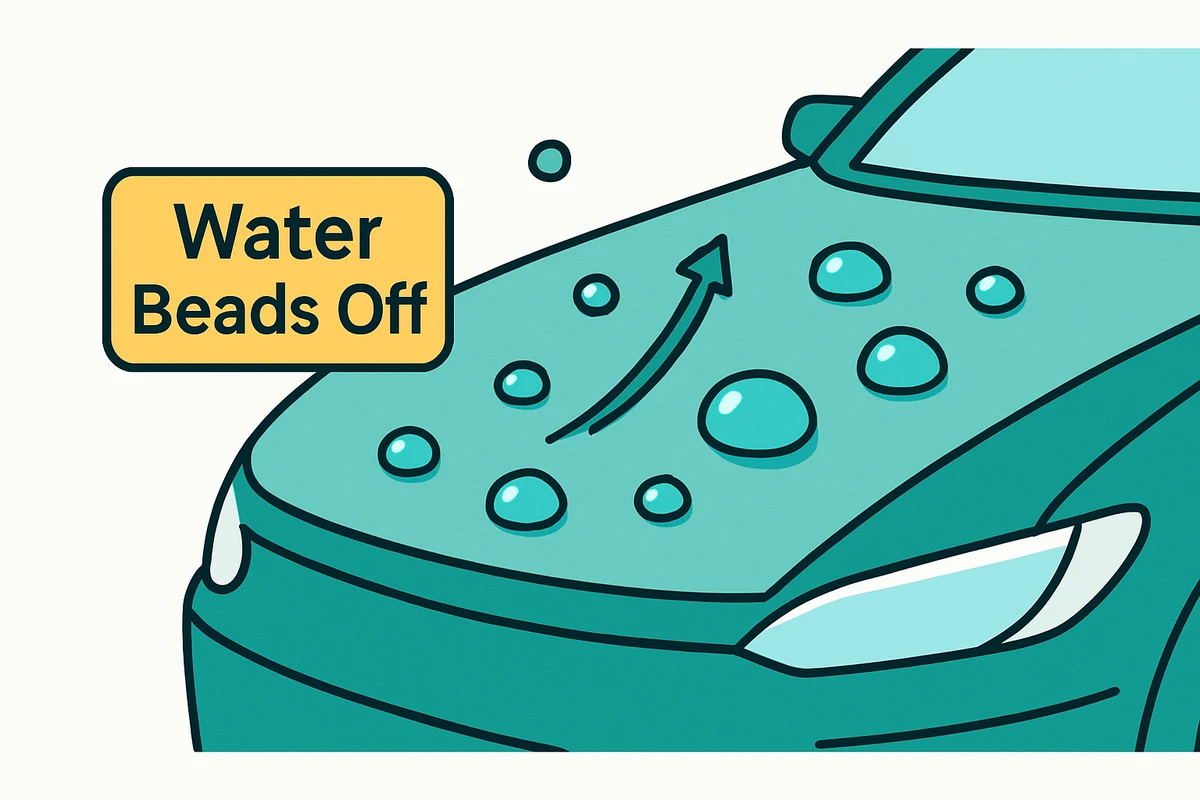
"Ceramic" conjures up images of a hard tile-like shell. That image isn't entirely wrong. The main ingredient in most coatings is silicon dioxide (SiO₂), sometimes combined with titanium dioxide.
Once cured, it forms a hard, glass-like surface that resists scratches, chemicals, and UV rays, as Feynlab describes.notes that the concentration of SiO₂ varies wildly between products. As a general rule, higher concentration means thicker or stronger protection. Professional-grade coatings are highly concentrated — often more than 80% SiO₂ — and come in tiny bottles.
This chemistry explains why coated cars behave the way they do. Gtechniq describes ceramic coating as a semi-permanent liquid polymer, often silicon dioxide, that bonds chemically with the paint to produce a protective, hydrophobic layer. Hydrophobic means water-repelling. Water doesn't sheet out and cling; instead, it pulls into beads and rolls off, carrying loose dirt with it.
What a coating is not: it's not wax. It's not a wrap.points out that ceramic coatings are far more durable than wax — wax usually lasts a few months at most, while a ceramic coating can last for years. A coating provides greater protection from water spots, chemical stains, and UV rays than wax does. It's also semi-permanent. That's a double-edged sword we'll return to when discussing removal.
What a Ceramic Coating Protects Against (and What It Doesn't)
Honest expectations matter. Oversold claims are the number one reason people feel let down.
The protection is real.lists the core benefits: defense against environmental hazards like water spots, bird droppings, and UV rays; resistance to chemical stains; a degree of scratch protection; and a high-gloss finish that makes the car easier to clean.adds detail on the UV protection: a coating stops UV rays that would otherwise oxidize and fade the paint. It shields against chemical stains caused by acidic contaminants and bird droppings. Its hardness helps resist minor scratches and swirl marks.
But here are the honest limits. A ceramic coating is not armour plating.is direct: it provides only basic resistance to minor scratches. It's "not bulletproof." Severe abrasions can penetrate the coating and damage the paint underneath. While coatings offer some defence against minor scratches and chemical etching, they do not provide complete protection against rock chips or impact damage.
One limitation trips up a lot of owners: water spots. A coating reduces the risk of water spots, but it doesn't make paint water-spot proof. Ceramic Pro explains that spots can still form on coated surfaces, especially in regions with high calcium or mineral content in the water.
When hard water combines with blistering hot sun, the spots can develop quickly and become hard to remove even on a coated surface. For anyone washing a car in Kuwait, where tap water is mineral-heavy and the summer sun is relentless, this is not a footnote. It's a daily reality. It's the single best argument for drying the car properly instead of letting it air-dry in the heat.
Finally, a coating locks in whatever condition the paint is in when it goes on. Chemical Guys warns that swirl marks, fine scratches, water-spot etching, and oxidation visible before application get preserved. The added gloss can actually make them more noticeable. That's why preparation, covered further below, is the real make-or-break stage.
How to Tell if Your Car Already Has a Ceramic Coating
This is one of the most common questions and one that most guides skip entirely. There's no dashboard light that confirms a coating, so you diagnose it by behaviour.
The clearest tell: how water acts on the paint. A healthy coating is strongly hydrophobic. That's the whole point of the technology, asdescribes: that hydrophobic layer that makes water and dirt struggle to stick. Rinse a panel with a light spray and watch.
If the water instantly pulls into tight, high beads that race off the surface with barely a nudge, a coating is very likely present (or at least a fresh sealant). If the water sheets flat and clings, any protection has either worn off or was never there.frames the reverse as a sign a coating is failing: when water no longer beads the way it used to and the surface starts to feel rough or gritty, the coating is wearing down.
A second tell is feel.notes that a cured coating becomes exceptionally flat and slippery, noticeably slicker than normal wax, which is why dust and debris slide off with little effort. Run a clean, dry hand across a washed panel. A coated surface feels glassy and slick rather than grippy.
A third clue is gloss and self-cleaning behaviour: coated cars tend to hold a deeper shine and stay cleaner between washes because contaminants have a harder time bonding. None of these is a laboratory test. Together — strong beading, glassy slickness, and easy cleaning — they give you a confident read on whether a coating is present and still working.
Should You Coat Your Car — DIY or Professional?
answers this with a refreshingly honest "it depends," tying the decision to your patience, confidence, precision, and the tools and space you have. Their team, after applying several coatings themselves, concluded that a DIY ceramic coating is not as intimidating as it looks. But it's time-consuming and semi-permanent, so mistakes can leave uneven streaks or spots until you polish them out.
The real difference between a home job and a professional one is prep, not the coating itself.explains that professional shops charge more because they meticulously do the prep work. Even brand-new cars usually need at least one round of polishing to remove swirl marks, water spots, and transport scratches. Shops often spend days correcting, coating, and curing.
There's also a forgiveness gap between product types. DIY sprays and kits are relatively forgiving — a mild polish usually fixes streaks. True professional coatings are far less forgiving. An uneven application may only be fixable by machine-polishing the coating away.
So the decision comes down to honesty with yourself. If you have a clean, shaded, dust-free space; the patience to spend a full day on prep; and you're comfortable with careful, methodical work, DIY is genuinely achievable. If your paint needs real correction, if you cannot control the environment, or if the car is valuable enough that a mistake would sting, a professional installation buys you both the prep expertise and the risk transfer.
The DIY Application Process, Step by Step
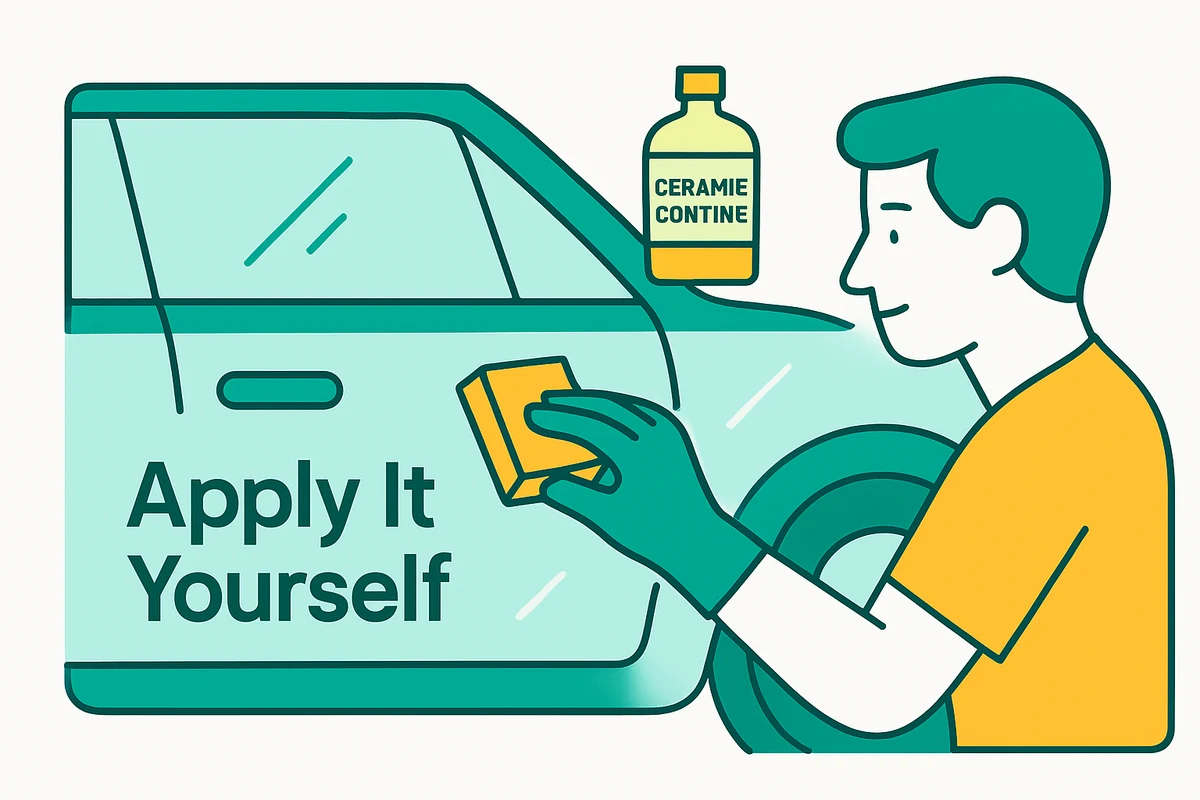
Every reputable source agrees on the same sequence. The theme running through all of them is that preparation is the foundation.puts it plainly: the quality of the result is almost entirely determined by how thoroughly the paint is cleaned, decontaminated, and corrected before a single drop of coating is applied.
-
1
Gather everything and control the environment
recommends assembling all your tools before opening a bottle. You'll need a pH-balanced wax-stripping shampoo, a clay bar and lubricant, correction compound and finishing polish (if the paint has swirls), a machine polisher or hand pads, clean microfiber towels, a dedicated panel-prep spray, and microsuede applicator pads. Stopping mid-application leaves product sitting too long and risks uneven bonding.
The environment matters just as much. Work in a clean garage or shaded space away from direct sunlight, wind, and dust. Sunlight causes the coating to flash-cure before you can spread it, creating high spots and uneven coverage.
This environmental warning is doubly important in a place like Kuwait. Applying a coating outdoors in summer heat is close to impossible to do well. The surface will flash the product almost on contact. Treat a cool, shaded, enclosed space as non-negotiable. If you can only work in the early morning, do it then.
also cautions against applying to a recently driven or sun-warmed vehicle. Let the car sit in the application space for at least 30 minutes so panel temperatures normalize first.
-
2
Wash, decontaminate, and correct
The prep sequence is where most of your hours go. Start by stripping old protection.explains that a standard wash soap will not remove existing wax and sealant, so you need a dedicated stripping shampoo to leave the surface genuinely bare. The Rag Company suggests tackling the wheels and tires first, since they collect the most dirt and brake dust. Then wash the paint from top to bottom while rinsing frequently to avoid swirls.
Next comes decontamination.describes running a clay bar with plenty of lubricant across every panel to pull out bonded contamination that washing cannot remove: industrial fallout, rail dust, tar, embedded road debris. Keep going until the paint feels completely smooth. If it still feels rough, clay again.adds a fallout remover step to dissolve embedded iron particles before claying.
If your inspection revealed swirls or scratches, correct them now.recommends a compound on a cutting pad followed by a finishing polish. Any imperfection left in the paint will be locked in and amplified by the coating's gloss. Finally, wipe every panel down with a dedicated panel-prep spray on a fresh microfiber face to remove polish residue and oils. The coating needs a perfectly clean surface to bond to.
-
3
Apply panel by panel
breaks the application itself into a tight rhythm. Apply a few drops of coating to the microsuede applicator and work one panel at a time in straight, overlapping lines. Horizontal passes across the full width, then vertical passes. Leave a thin, even film. Never try to coat several panels at once — this is the most common mistake and causes the product to dry before you can buff it.
describes the same cross-hatch technique from its own testing, applying concentrated coatings with dripped applicators and thinner hybrid sprays via a microfiber pad. Always use that up-then-across pattern.
Then watch the flash time.notes it's typically 30 seconds to two minutes depending on temperature and humidity. The coating is ready to buff when it shows a slight haze or rainbow effect. Buff too early and you remove it before it bonds. Buff too late and it becomes hard to remove and leaves high spots. Finish each panel by buffing with a clean, plush microfiber in light, overlapping passes. Flip to a fresh face frequently. Continue until the surface is clear and streak-free.
Some enthusiasts run a two-part system for extra durability.walks through applying a base coat (Crystal Serum Light, which absorbs into the clear coat for up to about five years of UV and abrasion protection) followed by a topcoat (EXOv5, adding roughly two more years and boosting the water- and oil-repelling behaviour). Apply each with a microfiber applicator using the "river method" and then buff off. That same guide also covers protecting the glass and wheels: a dedicated glass coating rated for extreme hydrophobicity at highway speeds, and a wheel coating built to shrug off the high heat and brake dust wheels endure.
Curing: When Can You Wash Your Car After Coating?
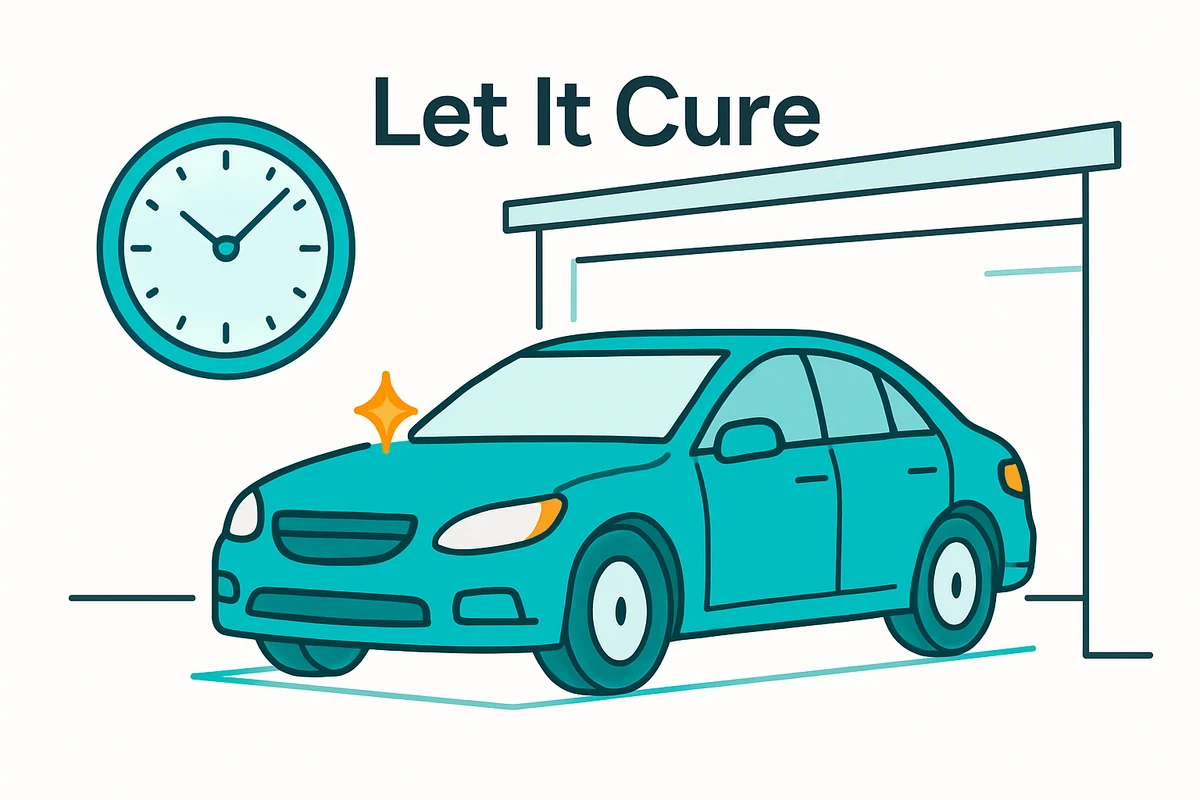
This question comes up constantly. The answer is simple if you respect the timeline.calls the first 24 to 48 hours the most critical window. Keeping the vehicle dry and away from contaminants determines how well the coating bonds and lasts.
The practical answer to "when can I wash it?" is simple: wait at least 48 hours before any water touches it. Hold off on a proper wash until closer to the two-week mark. Park the car in shade or a garage for those first days, not on the driveway.
How to Maintain a Ceramic Coating
A coating is not a "coat it and forget it" product. The most damaging myth, according to, is that a coated car cleans itself. In reality, the hydrophobic surface makes water and dirt slide off more easily. Residual contaminants still stick and build up over time. That's why the source recommends washing roughly every two weeks.agrees that a consistent wash schedule prevents the build-up of contaminants that degrade the coating.
The right wash technique
Both maintenance sources point to the same method.recommends the two-bucket method with grit guards: one bucket of soapy water, one of clean rinse water. Use a high-quality wash mitt rather than a sponge or brush that can scratch. Use a pH-neutral shampoo designed to work with ceramic coatings.
reinforces the pH-neutral, no-added-wax rule. Wax residue sits on top of the coating and reduces its hydrophobic properties. Paradoxically, this makes the car dirtier as debris sticks to the wax.
Drying is not optional
Drying matters as much as washing, especially in hard-water regions.stresses that a wash is not complete until the paint is fully dried. Standing water, particularly under the sun, leads to water spots even on a coated surface. Use a dedicated microfiber drying towel — a plush terry-weave, 70/30 polyester-polyamide blend with a high GSM — to dry the whole car quickly while minimizing swirl marks.
suggests the same, adding that a leaf blower is an excellent way to push water off the surface so nothing is left to spot.
For Kuwait's mineral-heavy water and fierce sun, thorough drying is the maintenance step that pays the biggest dividends. Never let a coated car air-dry outdoors.
Boosters and specific contaminants
To keep the beading strong over time,describes ceramic booster sprays that supplement the existing coating. You spray onto a clean, dry surface and buff in with a microfiber cloth, repeating per the product's instructions.adds two important rules for these sprays: always use them directly after washing, and never apply them in direct sunlight. The concentrated polymers will streak on a warm surface and may require polishing to fix.
frames the same idea as "topping up." Over time a coating loses some of its hydrophobic properties. A ceramic maintenance sealant applied during drying can rejuvenate the slick, water-beading behaviour.
Certain contaminants need prompt, gentle handling.advises removing bird droppings with a quick-detailer spray and a microfiber towel rather than scrubbing. Clean brake dust from wheels and lower panels with a wheel cleaner safe for coated surfaces and a soft brush. Treat any water spots with a dedicated remover. In a dusty environment, the "gentle and prompt" principle protects you: blow or rinse loose dust off before you ever wipe. This prevents grinding grit across the surface.
What Destroys a Ceramic Coating — and Can You Wax Over It?
Knowing what shortens a coating's life is as valuable as knowing how to apply one. This is an area competitors tend to scatter across their pages rather than address head-on.
is blunt: a drive-through wash — especially one with brushes or those curtain-style cloth strips — can wreck a coating in seconds. The soaps used are aggressively pH-heavy like industrial detergents. The washing media are built for durability, not gentle cleaning. The same source recommends washing in low-light hours, on a cloudy day, or early/late in the day. Avoid sun-driven streaking and spotting that come with washing hot paint.
Harsh chemistry is the second threat. This answers the popular "can I wax over my coating?" question. The honest answer is that you generally should not. Avoid wax-containing shampoos too.explains that wax leaves a residue on top of the coating that reduces its hydrophobic properties. Instead of adding protection, you mute the very behaviour you paid for. If you want to boost the coating, a dedicated ceramic booster spray — not wax — is the right tool, asdescribes.
Heat and sun are the slow, grinding threats.recommends parking in shade, a garage, or under a carport whenever possible. Direct sunlight degrades a coating over time. In a climate with months of intense sun, shade parking is not a nicety. It's the difference between a coating that lasts its rated life and one that fades in a single summer. Add the hard-water spotting riskflags, and the pattern is clear: heat, sun, and mineral water are the trio a coated car in the Gulf has to be defended against with shade and careful drying.
Do Spray-On and "Car Wash" Ceramic Products Actually Work?
Walk down any car-care aisle and you'll see sprays promising "ceramic" results for a fraction of the price of a professional job. Do they work? Yes. But at a different level. It pays to understand the trade-off rather than expecting one product to do another's job.
Spray-On vs Professional-Grade Ceramic Coating
Professional-Grade Coating
- Uses nanotechnology to physically bond to the clear coat
- Up to about five years of protection
- Higher SiO₂ concentration — thicker, stronger layer
- Set-and-maintain protection that lasts years
- Rewards precise technique and full prep
Spray-On / SiO₂ Gel Trade-offs
- Up to about one year of hydrophobic protection
- Thinner, more watery — clearly less SiO₂ and a much thinner layer
- Not a substitute for a fully prepped, professionally bonded coating
- Best for convenient, frequently-refreshed shine
- Most forgiving option for first-timers
A spray-on ceramic product is a legitimate protection upgrade over nothing or old-fashioned wax. It's a genuinely low-risk way to get hydrophobic behaviour and gloss. What it is not is a substitute for a fully prepped, professionally bonded coating with multi-year durability. If your goal is convenient, frequently-refreshed shine, sprays are a smart choice. If your goal is set-and-maintain protection that lasts years, the concentrated route — DIY or professional — is what actually delivers.
How Often Should You Reapply?
Owners often ask how often they need to "get" a coating. The answer depends entirely on the product tier and how well you maintain it. No source gives a single number. But the lifespan figures give you the framework.
notes that with proper care a professional-grade coating can last several years. Actual lifespan depends on prep, product quality, and how well the paint is maintained.puts concrete numbers on a two-part system: roughly five years from the base coat plus about two more from the topcoat.pegs a wax-like SiO₂ gel at up to about a year.
Think of it as a tiered cadence. A consumer spray coating is essentially a refresh-as-you-go product — plan on topping it up every several months. A properly applied professional coating is measured in years, not months. The smarter move than watching a calendar is watching the paint: when beading weakens and the surface stops feeling slick — the same wear signsdescribes — it's time to either boost it or plan a re-coat.
Booster sprays extend the interval between full re-applications.notes that warranty-backed professional coatings often include annual inspections, during which the installer checks for uneven coverage and freshens the topcoat. That's scheduled maintenance rather than a full redo. In harsh sun and dust, expect to land toward the shorter end of any stated lifespan and to lean more on boosters to bridge the gap.
Removing a Ceramic Coating
Because a coating is semi-permanent, taking one off is deliberately harder than putting it on.explains that the same durability that makes a coating great is a double-edged sword at removal time. You cannot simply wash it off. Removal comes down to two approaches: chemical or mechanical.
Chemical removal uses specially formulated strippers to break the coating down.describes it as gentler on the paint and effective on newer or thinner coatings, but slower and sometimes requiring multiple applications. It may not fully defeat an older, well-bonded coating.
Mechanical removal physically abrades the coating away with polishing compounds and pads. The same source calls it faster and capable of removing even stubborn coatings. But it demands more skill and care to avoid damaging the paint underneath.reinforces the caution: removal usually involves abrasion such as wet sanding or machine polishing and should be performed by a professional to avoid damaging the paint.
If you do tackle it yourself,lays out a safe sequence. Gather your materials including proper protective gear. Wash and clay-bar the car so it's genuinely clean. Apply your chosen removal method. Inspect under bright light to confirm the coating is gone. Immediately protect the freshly exposed paint with a sealant or new coating so it's not left bare.
The same source flags the common mistakes to avoid: using the wrong products, rushing, skipping a test spot on an inconspicuous area, and neglecting gloves and safety glasses. Some jobs belong with a professional. A particularly old or stubborn coating, a valuable classic, or custom paintwork are all reasons to hand the work to someone with the right tools and experience.
Putting It All Together
The bottom line
Strip away the marketing and ceramic coating for cars is straightforward: a silicon-dioxide-based liquid polymer that bonds to your clear coat and gives you real, multi-year protection against UV, chemical stains, water spots, and light scratching — plus a gloss that makes the car easier to keep clean. Its performance is decided at two moments: the preparation before it goes on, and the ongoing care after. Prep the paint properly. Respect the curing window. Wash gently with pH-neutral products. Dry thoroughly. Park in the shade. Refresh with a booster rather than wax. A coating will do everything it promises. Skip those steps — or trust an automated brush wash — and even the best product will disappoint.
It's not a force field against rock chips. It's not a licence to stop washing. For owners in Kuwait's heat, dust, and hard water, none of this changes the fundamentals. It just raises the stakes on shade, drying, and prompt gentle cleaning. Those are exactly the habits that separate a coating that ages gracefully from one that fades in a single summer.
If you'd rather have the prep, correction, and coating handled by experienced hands, or you simply want your paint kept at its best between details, the team at Wash & Polish specialises in Car Polishing & Waxing and can help you protect and preserve your vehicle's finish the right way.