In this guide
- What Does "Detailing" Actually Mean?
- What Does a Full Interior Detail Include?
- Is Interior Detailing Worth It?
- What You Need Before You Start
- The Correct Order to Detail a Car Interior
- Common Interior Detailing Mistakes to Avoid
- A Quick Glossary: Detailing Terms People Ask About
- DIY or Professional: How to Decide
- How Often Should You Detail the Interior?
- Do You Tip a Car Detailer?
- Frequently asked questions
- Bringing It All Together
Most of us spend far more time looking at the inside of our car than the outside. It's where you sit in traffic, grab lunch on a busy day, haul kids and groceries, and breathe the air for hours every week. Yet when people picture "detailing," they imagine a gleaming, waxed exterior—not the seats, carpets, dashboard, and vents they actually touch every day.
Car interior detailing is the discipline that gives the cabin the same careful treatment. It's slower, more methodical, and more chemistry-dependent than a quick wipe-down. Done properly, it does more than make the car smell nice: it protects the surfaces you paid for and helps hold the car's value over time.
This guide explains exactly what interior detailing is, what a full interior detail includes, how to do it yourself step by step, and how to decide whether to hire a professional. Along the way it answers the questions people actually search for—from "what order should I clean in?" to "am I supposed to tip the detailer?"—and it flags the mistakes that quietly ruin interiors.
What Does "Detailing" Actually Mean?
Start with the word itself, because there's real confusion here. People often treat "car wash" and "car detail" as the same thing, but they're very different. The International Detailing Association describes detailing as "involving a thorough cleaning and reconditioning of both the interior and exterior of your vehicle" and "a meticulous step-by-step process to restore your vehicle's beauty and protect your investment" (International Detailing Association). The keyword is reconditioning: you're not just removing dirt, you're restoring and protecting the material underneath.
The technical definition backs this up. Auto detailing is "the set of technical procedures aimed at the thorough cleaning, aesthetic restoration, and protection of a vehicle's surfaces, both interior and exterior," and it "goes beyond a standard car wash, focusing on deep interior cleaning and exterior polishing," often requiring manual methods or specific equipment (Wikipedia). A wash gets a car clean enough to look presentable from a few feet away. A detail addresses every crack and crevice up close.
That's also why the name is "detailing"—the whole point is the details. You should expect that "every 'detail' of your vehicle will be assessed and cleaned, including all cracks and crevices". A wash skips the vents, the seat rails, the seams in the upholstery, and the sticky film on the touchscreen. A detail doesn't.
One practical consequence: there are no uniform industry guidelines for what a "detail" must include, so you may "encounter wide variations in service packaging and pricing," driven by differences in training, quality, and the products used. That's exactly why it pays to understand the process yourself—so you can tell a thorough job from a rushed one.
What Does a Full Interior Detail Include?
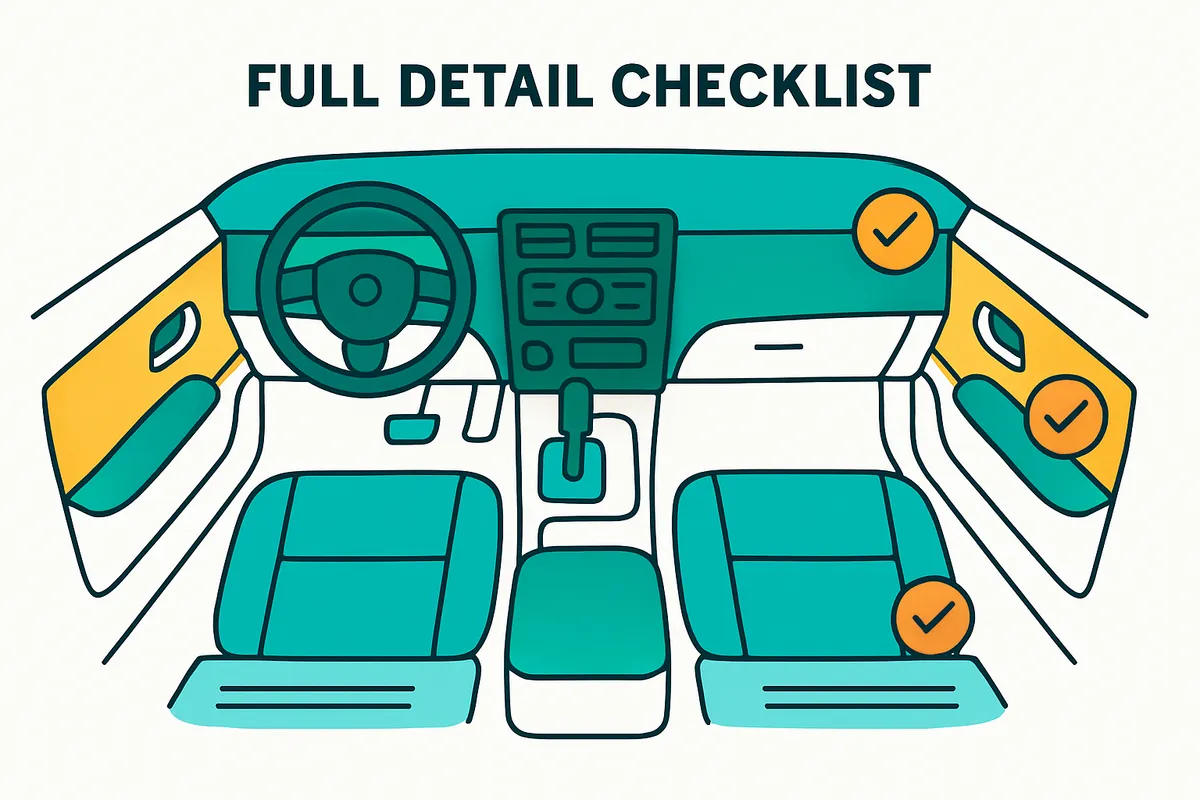
A comprehensive detail "begins with a thorough vacuum and interior cleaning, which may include steam cleaning the upholstery, pressure washing floor mats, removing stains, and other specialized treatments" (Carfax). Interior detailing specifically can include "vacuuming and shampooing the carpet and upholstery, pressure washing the floor mats, and applying protective solutions to interior surfaces," and detailers "typically clean both the interior and exterior glass".
A full interior detail generally covers:
- Vacuuming everything—carpets, seats, mats, trunk, and the hidden crevices between and under seats.
- Hard surfaces—the dashboard, center console, door panels, vents, cupholders, and steering wheel, cleaned and often protected with a dressing.
- Upholstery and carpet—shampooed or spot-cleaned to lift embedded dirt and stains.
- Leather—cleaned and then conditioned so it doesn't dry out and crack.
- Glass—interior windows and the windshield cleaned to a streak-free finish.
- Odor—deodorizing so the cabin smells genuinely clean rather than masked.
Here's the reality: a real detail takes time. Detailers often complete the work "in stages to allow various cleaning products time to absorb or dry between steps", and a thorough, high-quality job "should take several hours, depending on the prior condition of the vehicle". If someone promises a full interior detail in twenty minutes, they're describing a wash, not a detail.
Is Interior Detailing Worth It?
This is one of the most common questions, and the honest answer is: it depends on what you value. But there are concrete reasons beyond just appearance.
The clearest one is resale value. A clean interior helps preserve what your car is worth—"a clean, shiny vehicle is worth much more in resale or trade-in value than one with dingy, faded paint", and the same logic applies inside the cabin, where stains, cracked leather, and worn trim visibly age a car. Regular interior care also "resists premature wear on the interior's surfaces" (AutoZone). This matters because dashboards, seats, and trim are expensive to replace and nearly impossible to restore once they crack or stain permanently.
There's also the daily-comfort argument. Dirt, dust, and grime "can build up over time to degrade your car's interior materials, so you could end up with even bigger problems than weird smells and ugly stains" (Car and Driver). High-contact surfaces like the steering wheel, door panels, and gearshift accumulate bacteria from everyday use. That's why disinfecting them is part of a proper detail rather than an optional extra.
So "worth it" comes down to this: if you plan to keep the car for years, care about resale, or simply spend a lot of time in it, interior detailing pays back in preserved value, longer-lasting materials, and a healthier cabin.
What You Need Before You Start
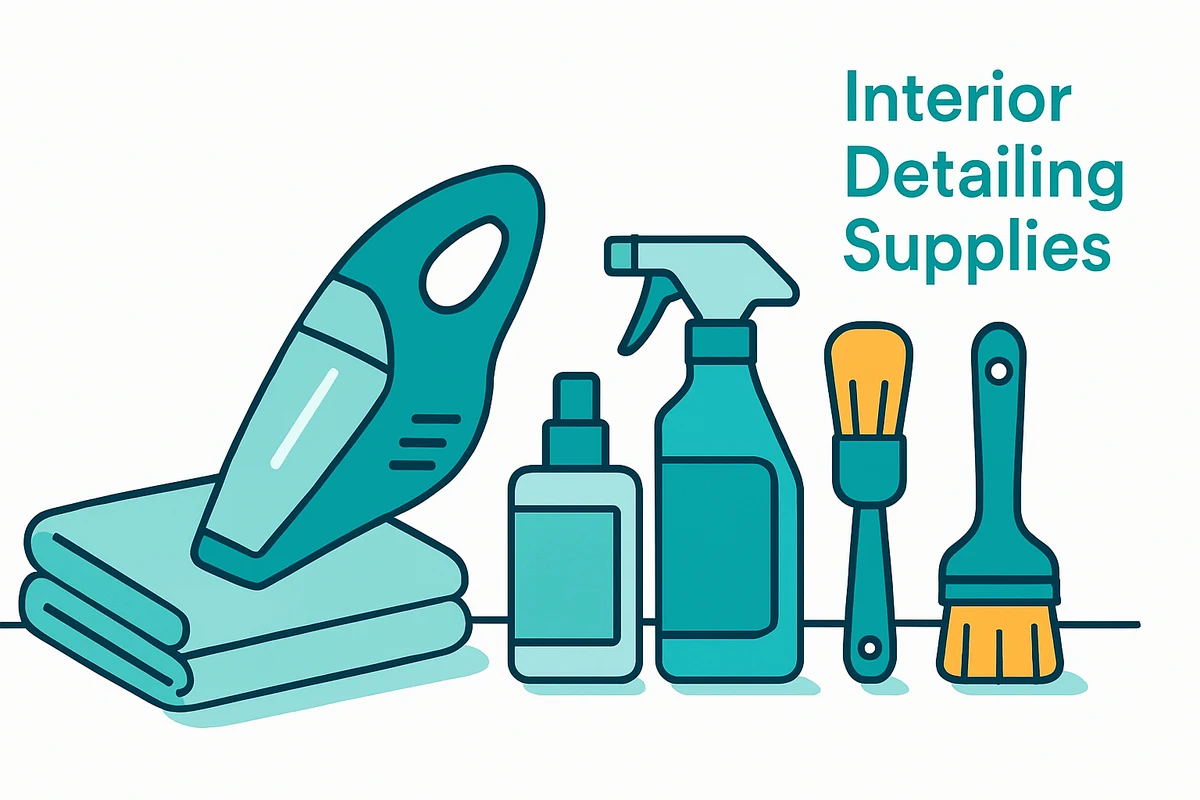
You don't need a professional bay to detail an interior well, but you do need the right supplies. Skipping this—or worse, reaching for whatever is under the kitchen sink—is where most home jobs fall apart. Some household cleaners "include harsh chemicals that can damage surfaces in your vehicle over time," and these chemicals "can degrade leather, plastics, and cloth materials," so it's safer to use products designed for automotive interiors.
A workable interior kit, drawn from what the guides recommend, looks like this; Malco Automotive):
Tools and equipment
- A vacuum with attachments to reach hard-to-reach places
- Microfiber cloths (several)
- A soft-bristle brush and a stiff-bristle scrub brush
- Applicator pads
- A duster
- Empty spray bottles
- Access to water and a shaded area or garage
- Disposable gloves
Cleaners and dressings
- An all-purpose cleaner or degreaser
- A hard-surface cleaner
- Glass cleaner
- Upholstery / carpet cleaner
- A spot and stain remover
- Leather cleaner and leather conditioner
- An interior dressing
- An odor eliminator or deodorizer
Good news about cost: most of these supplies last a long time, and "the equipment you purchase should last year after year if you take care of it". If you're weighing DIY against paying for a detail every few months, the math changes once you've bought supplies once.
Prepare the car and the space first
Preparation is "the first and arguably most important step of the process," because you need "a clean and clutter-free environment to work in, otherwise you'll just be moving dirt and grime around without actually making any progress". Remove all loose items and rubbish. It helps to wash the exterior first so you're not "dragging that dirt inside the car as you work".
Where you work matters just as much as what you use. Park "in an area out of the direct sunlight," at "a comfortable working temperature, not too hot or cold, so your products work properly". Before any interior detailing, make sure all surfaces are cool because "temperature can affect the consistency of cleaning chemicals and can even cause damage to those surfaces".
In a climate as hot and sunny as Kuwait's, this is the single most important habit to build: detail in a shaded garage or in the cooler early morning, and let a sun-baked cabin cool down before you spray anything, or your cleaner will flash-dry and streak before it can do its job.
Temperature can affect the consistency of cleaning chemicals and can even cause damage to those surfaces;. Always work on cool surfaces out of direct sunlight—on a hot dashboard, cleaner will flash-dry and streak before it can do its job.
Always test a cleaner "for colorfastness in an inconspicuous area before using". Thirty seconds on a hidden seam can save you from bleaching a whole seat.
The Correct Order to Detail a Car Interior
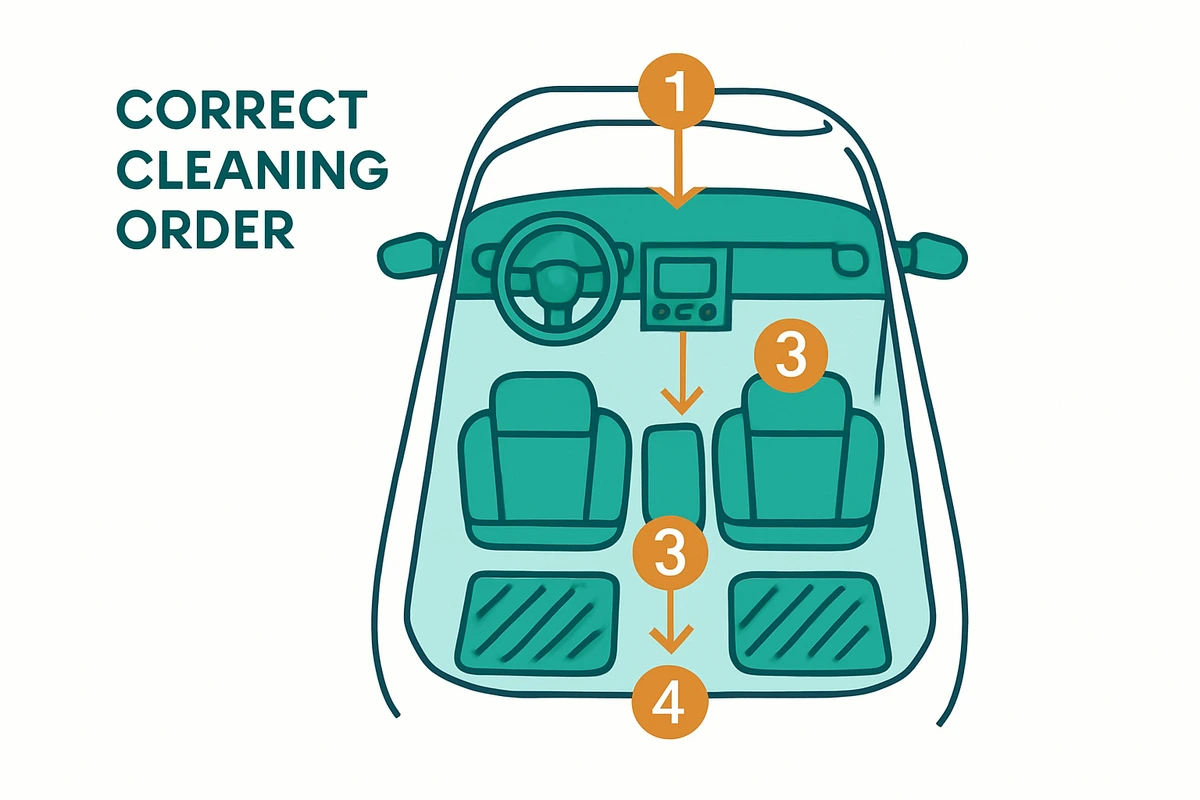
People ask about the order constantly, and it matters more than you'd think. The logic is simple: work from loose debris to fine detail, from dry steps to wet ones, and top to bottom so you're not re-dirtying areas you already finished. The professional sequences from the guides line up closely, so here's a combined, practical order.
-
1
Remove and clean the floor mats
Take the mats out early. Shake them outside to knock off crumbs and debris, then vacuum them. For a deeper clean, saturate them with a degreaser, agitate stubborn spots with a stiff-bristle brush, rinse, and hang them to air-dry while you do the rest of the interior. Doing mats first gives them time to dry so you're not putting damp mats back into a finished car.
-
2
Vacuum everything
With the mats out, vacuum the whole interior. Use the attachments to reach "those hard-to-reach corners, like your cupholders and the space between your windshield and dashboard," and run the vacuum over the seats to pull out crumbs and grit. Get into every nook and crevice so you're not "pushing these particles deeper into the interior surfaces while cleaning" later. This is foundational—skip it and you'll grind dirt into everything you touch next.
-
3
Dust and clean the dashboard and hard surfaces
The vacuum is too blunt for the dash and vents. Switch to a duster or microfiber cloth to clear smaller particles; they're soft enough that they won't scratch the vents and are designed to capture dust rather than spread it. Then clean the hard plastics—dashboard, center console, inner door panels, seat backs, cupholders, and steering wheel—with a material-compatible cleaner, working it into the surface and wiping it off with a clean microfiber towel.
The dashboard and steering wheel are high-contact surfaces where bacteria thrive, so disinfect them as part of this step. But "avoid using any bleach-based products and always read product labels carefully before using chemicals in your car".
-
4
Handle the touchscreen and console with care
The infotainment screen needs special caution. Avoid ammonia-based products on it because most touchscreens are plastic and "ammonia-based glass cleaners can damage the surface, particularly if it's treated with an anti-glare or anti-fingerprint coating." Instead, clean the screen "with a microfiber cloth dampened lightly with distilled water". The same gentleness applies to sensitive climate and radio buttons on the console.
-
5
Protect the plastics (but not everything)
After cleaning the hard plastics, you can apply an interior dressing to enhance and safeguard them. Follow the label for dilution, and never apply dressing to the steering wheel or pedals. Dressing "creates a slick surface, and this can be dangerous if used on certain parts of the vehicle". A slippery steering wheel or pedal is a genuine safety hazard, so keep dressing well away from anything you grip or press.
-
6
Clean and condition the leather
Leather is where a wrong move costs the most, and where knowing your material pays off. There are generally three types of leather used in car interiors—vinyl, coated, and aniline—and identifying which you have is "crucial for selecting the appropriate cleaning solution," because "using an incompatible cleaner can lead to discoloration and other damage".
Clean the leather with a product made for it, then condition it. Conditioning isn't optional: leather "tends to lose moisture over time, leading to dryness and cracking," so it's "advisable to condition automotive leather surfaces each time they are cleaned". Car and Driver agrees: wipe leather seats with a car-specific leather cleaner and follow up with a conditioner "to keep things supple, soft, and shiny". Vinyl surfaces don't need conditioning. This step matters double in a hot climate, where sun and heat accelerate the drying and cracking that conditioning is meant to prevent. Treat it as regular maintenance, not a one-time luxury.
-
7
Tackle stains, then shampoo the upholstery and carpet
Deal with spot stains before general cleaning so you're not spreading them. Pick a spot remover compatible with your fabric, follow the instructions, and where a stain needs agitation, use a soft-bristle brush "in a gentle circular motion to release the stain," repeating as needed, then swab with a damp cloth and let it dry.
Once the spot stains are handled, clean the broader carpet and upholstery with a fabric-safe cleaner, agitating with a soft-bristle brush if needed and blotting up residue before letting the surfaces air-dry. For cloth seats specifically, apply the upholstery cleaner over the whole seat and work it in with a scrub brush for a deeper clean. One critical caution: rinse with a damp microfiber cloth and "avoid soaking the seat since wet seats may encourage mold growth". Over-wetting upholstery is one of the most common ways home details go wrong, especially in humid conditions where trapped moisture can't escape.
-
8
Deodorize the cabin
Cleaning removes most odor sources, but not all fabric cleaners neutralize smells. To dispel lingering odors, use an air freshener or deodorizer "designed to eliminate unpleasant smells from your vehicle". The goal is to remove odor at the source rather than bury it under fragrance. A car that smells clean because it is clean beats one masked with an overpowering scent.
-
9
Finish with the glass
Do the interior glass last, after the dusty and product-heavy steps are done, so you're not re-fogging clean windows. Roll the windows fully up, open the doors to reach the edges, and apply glass cleaner in a light, even layer. Here's a professional trick worth adopting: wipe one side of the glass up-and-down and the other side-to-side. Wiping in a different direction on each side "allows you to identify any streaks and determine which side they are on". For screens and coated glass, remember the earlier caution about avoiding ammonia-based cleaners.
Common Interior Detailing Mistakes to Avoid
People worry about doing this wrong, and they're right to. The same handful of mistakes come up again and again. Here's what to avoid:
- Detailing in the sun or on hot surfaces. Heat changes how cleaning chemicals behave and can damage surfaces, so always work on cool surfaces out of direct sunlight;.
- Reaching for harsh household chemicals. Many contain ingredients that degrade leather, plastics, and cloth over time.
- Using ammonia or bleach on the wrong surfaces. Ammonia can ruin coated touchscreens, and bleach-based products don't belong on a dashboard.
- Skipping the colorfastness test. Always test a cleaner in a hidden spot first to avoid discoloration.
- Using the wrong leather cleaner. Match the product to the leather type, or risk discoloration and damage.
- Dressing the steering wheel or pedals. It makes them slick and dangerous.
- Soaking the upholstery. Wet seats can grow mold, so clean, blot, and let dry rather than drenching.
- Skipping vacuuming or doing it half-heartedly. Loose grit left behind gets ground into every surface you clean afterward.
A useful rule from the pros: always read and follow product label instructions, including application and safety directions, rather than improvising.
A Quick Glossary: Detailing Terms People Ask About
Detailing has its own vocabulary, and a few terms show up constantly in searches. Here's what they mean, and how the interior fits in.
Key terms
- Decontamination
- After washing, decontamination "removes residues not eliminated during washing, such as iron particles, resin, tar, glue, and limescale deposits," using chemical products or mechanical tools to leave smooth, contaminant-free surfaces. This is where clay bars come in on the exterior; on the interior, the same idea applies to lifting embedded grime the wash left behind.
- Paint correction / polishing
- Polishing "is a process aimed at paint correction," using abrasives and machines to reduce or eliminate "oxidation, micro-scratches, and various imperfections" for a more uniform, glossy surface. This is an exterior process, but it's worth knowing because a "full detail" quote often bundles it in. That's a big reason detailing prices vary so widely.
- Protection
- The final stage preserves the results, using "natural or synthetic waxes," silicon dioxide (SiO₂) sealants, or nanotechnology-based coatings, chosen for durability, gloss, and cost. The interior equivalent is the dressings and protectants applied to plastics and leather to guard against wear.
- Waterless and rinseless washing
- A waterless wash uses a product "formulated with surfactants and lubricating agents" to encapsulate and lift dirt, wiped off with a microfiber cloth. It's practical when water or space is limited, and it works best on lightly soiled surfaces, though it's not recommended for heavy contamination because it raises the risk of micro-scratches. A rinseless wash sits between the hose and the waterless method, diluting a detergent in a bucket and drying the surface without a rinse. It's "particularly useful in winter, in garages, or in situations where running water is not available". These are worth knowing in a water-conscious region where a full hose-down isn't always practical.
DIY or Professional: How to Decide
Can you detail your own interior? Yes. Plenty of owners do, and the steps above are all doable at home. But go in clear-eyed about two things. First, "there can be significant startup costs involved as you accumulate the required equipment and cleaning products". The upside is that those supplies last, so the cost amortizes if you detail regularly.
Second, some parts of a full detail carry real risk if you're inexperienced. Professionals "have a range of equipment at their disposal and are typically trained or experienced in using them," so if any part of the process is unclear, it's worth researching more or reaching out to a pro. This is especially true for anything near the paint, where "it's very easy to damage the paint and create a much bigger problem".
A sensible middle path for many owners: handle routine interior upkeep yourself—vacuuming, wiping surfaces, quick glass cleaning—and bring in a professional for the periodic deep detail, stubborn stains, odor removal, or leather restoration that benefits from proper equipment and experience. Because there are no standardized service definitions across the industry, ask exactly what a package includes before you book. And remember that a genuinely thorough interior detail takes several hours, not minutes.
How Often Should You Detail the Interior?
There's no single rule, and the honest answer is "it depends on how you use the car." A vehicle that regularly carries pets, kids, or food needs more frequent attention than a commuter that mostly carries one adult. The underlying principle is preventive: dirt and grime degrade interior materials the longer they sit, so regular cleaning heads off the bigger, costlier problems.
A workable rhythm for most people is a light interior maintenance clean every couple of weeks—a quick vacuum, a wipe of high-touch surfaces, and the glass. Then do a full deep detail a few times a year. In dusty, high-heat conditions like Kuwait's, lean toward the more frequent end. Fine dust works its way into vents and fabric quickly, and heat is relentless on leather and plastics, so conditioning and dusting on a regular schedule does more good than an occasional heroic deep-clean. Think of it the way you would any maintenance—small, regular effort prevents the damage that's expensive to undo.
Do You Tip a Car Detailer?
This question comes up constantly, and it deserves a straight answer. There's no fixed rule, and tipping is never obligatory—it's a way to recognize good work. Interior detailing is labor-intensive, hands-on, personal service. A detailer can spend hours on their knees cleaning your carpets and seats, and a thorough interior job on a neglected car is genuinely hard work. Many customers choose to tip when a detailer clearly went above and beyond, handled a difficult job, or provides recurring service they want to keep.
A few sensible considerations if you're deciding:
- Judge by the result and effort, not a formula. A meticulous, several-hour job that transforms a filthy interior naturally invites more generosity than a quick freshen-up.
- Independent owner-operators are a grey area. Some customers feel a business owner setting their own prices is different from tipping an employee. Either choice is reasonable.
- Mobile detailers who come to your home and do the whole job on your driveway are often tipped for the convenience and the personal service.
- If cash isn't your thing, a strong review, a referral, or repeat business is genuinely valuable to a detailer and costs you nothing.
The short version: tipping is appreciated but not required. Do what feels right for the quality of the work. Never feel pressured into it.
Frequently asked questions
Is interior detailing worth it?
If you plan to keep the car for years, care about resale, or simply spend a lot of time in it, interior detailing pays back in preserved value, longer-lasting materials, and a healthier cabin. Regular interior care "resists premature wear on the interior's surfaces", and a clean interior helps hold the car's resale value over time.
How often should you detail the interior?
A workable rhythm for most people is a light interior maintenance clean every couple of weeks—a quick vacuum, a wipe of high-touch surfaces, and the glass—then a full deep detail a few times a year. In dusty, high-heat conditions, lean toward the more frequent end, as fine dust works its way into vents and fabric quickly.
Should I DIY or hire a professional?
A sensible middle path: handle routine interior upkeep yourself—vacuuming, wiping surfaces, quick glass cleaning—and bring in a professional for the periodic deep detail, stubborn stains, odor removal, or leather restoration. Ask exactly what a package includes before you book, and remember that a genuinely thorough interior detail takes several hours, not minutes.
Do you tip a car detailer?
Tipping is appreciated but not required. There's no fixed rule—it's a way to recognize good work. A meticulous, several-hour job that transforms a filthy interior naturally invites more generosity than a quick freshen-up. If cash isn't your thing, a strong review, a referral, or repeat business is genuinely valuable to a detailer and costs you nothing.
Bringing It All Together
Interior detailing isn't mysterious, but it does reward doing things in the right order with the right products. Strip out the clutter and mats, vacuum thoroughly, work from the dashboard and hard surfaces down through leather, stains, upholstery, and odor, and finish with streak-free glass. Always work on cool surfaces, out of the sun, with products matched to each material and tested before use.
Get those fundamentals right and you protect the surfaces you paid for, keep the cabin healthier, and hold onto more of your car's value;.
The bottom line
Whether you tackle it yourself between deep cleans or hand the hardest jobs to a professional, the goal is the same: a genuinely clean, well-protected interior rather than a surface wipe that hides the grime underneath. In Kuwait's heat and dust, that distinction matters even more because the conditions that make interiors hard to keep clean are also the ones that age them fastest.
If you'd rather leave the deep work to trained hands—full carpet and seat cleaning, stain and odor removal, leather care, and steam treatment—Wash & Polish offers professional Interior Deep Cleaning as part of its detailing services. We bring the whole process to your car so the cabin you spend so much time in gets the same care as the paint outside.